nholderbein
-
Posts
17 -
Joined
-
Last visited
nholderbein's Achievements
Apprentice Poster (1/3)
1
Reputation
-
Thank you for posting some visual inspiration to get out there and work on those through tenons!!
-
Great work. Thanks for posting! I have been taking a short break from my Morris chairs to practice a few techniques and finish up my adirondack. Nothing left on that but plugs so I hope to start catching up next week. I especially appreciate the details on the upholstery.
-
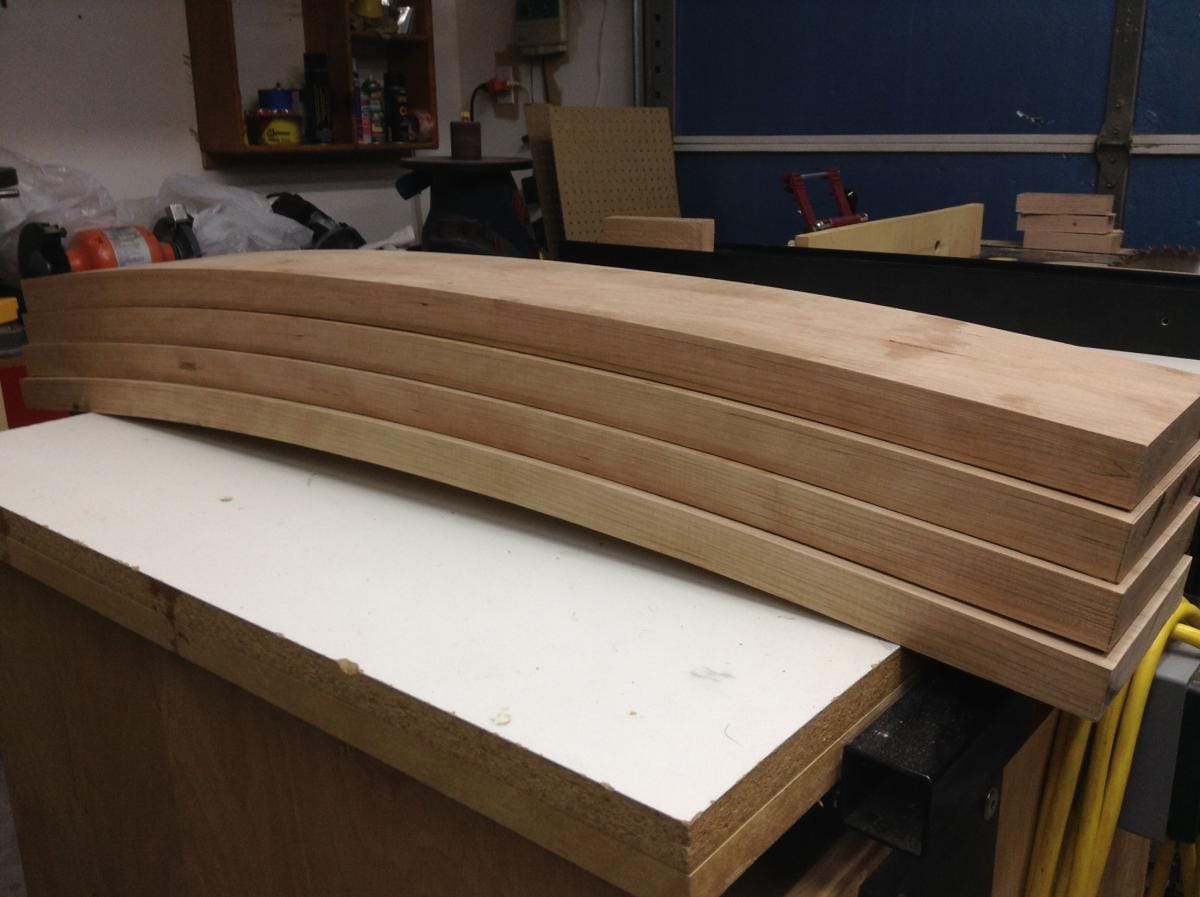
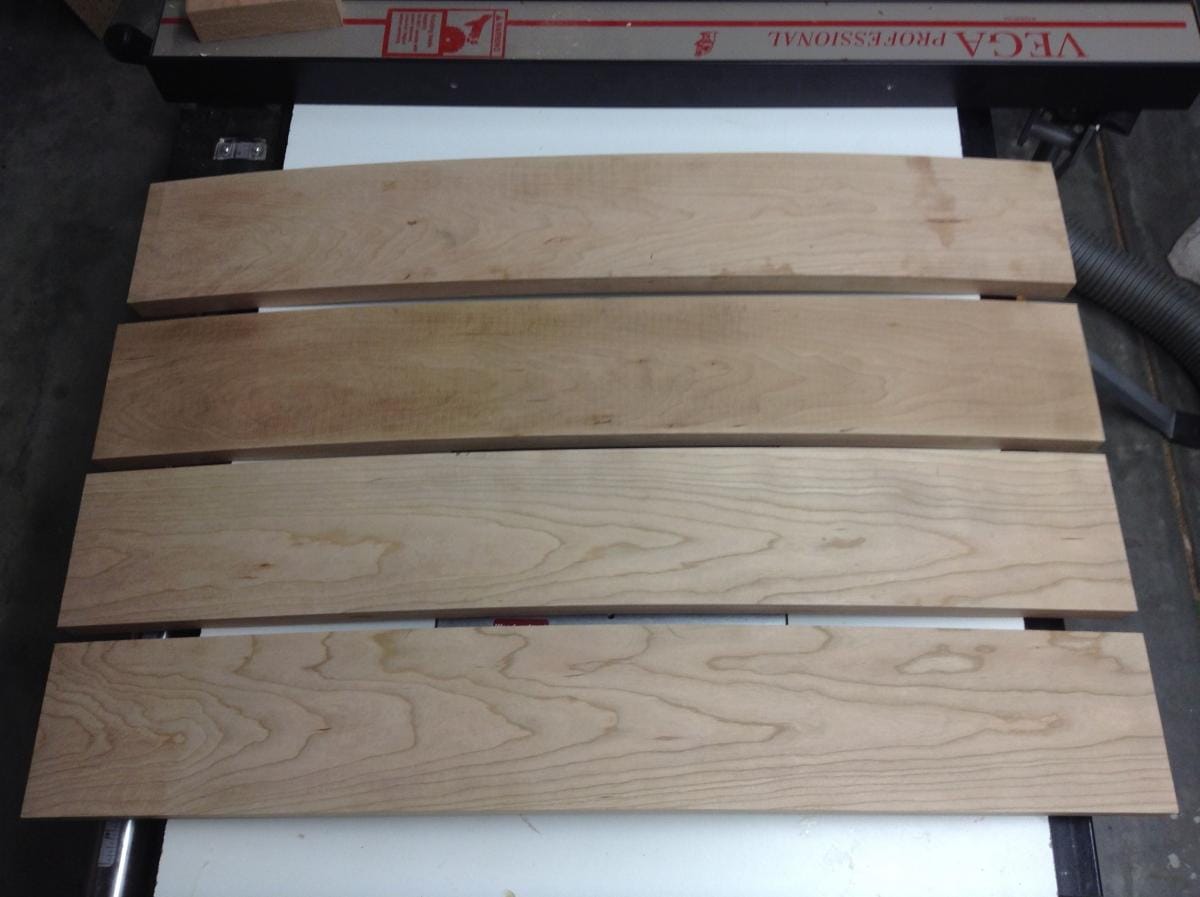
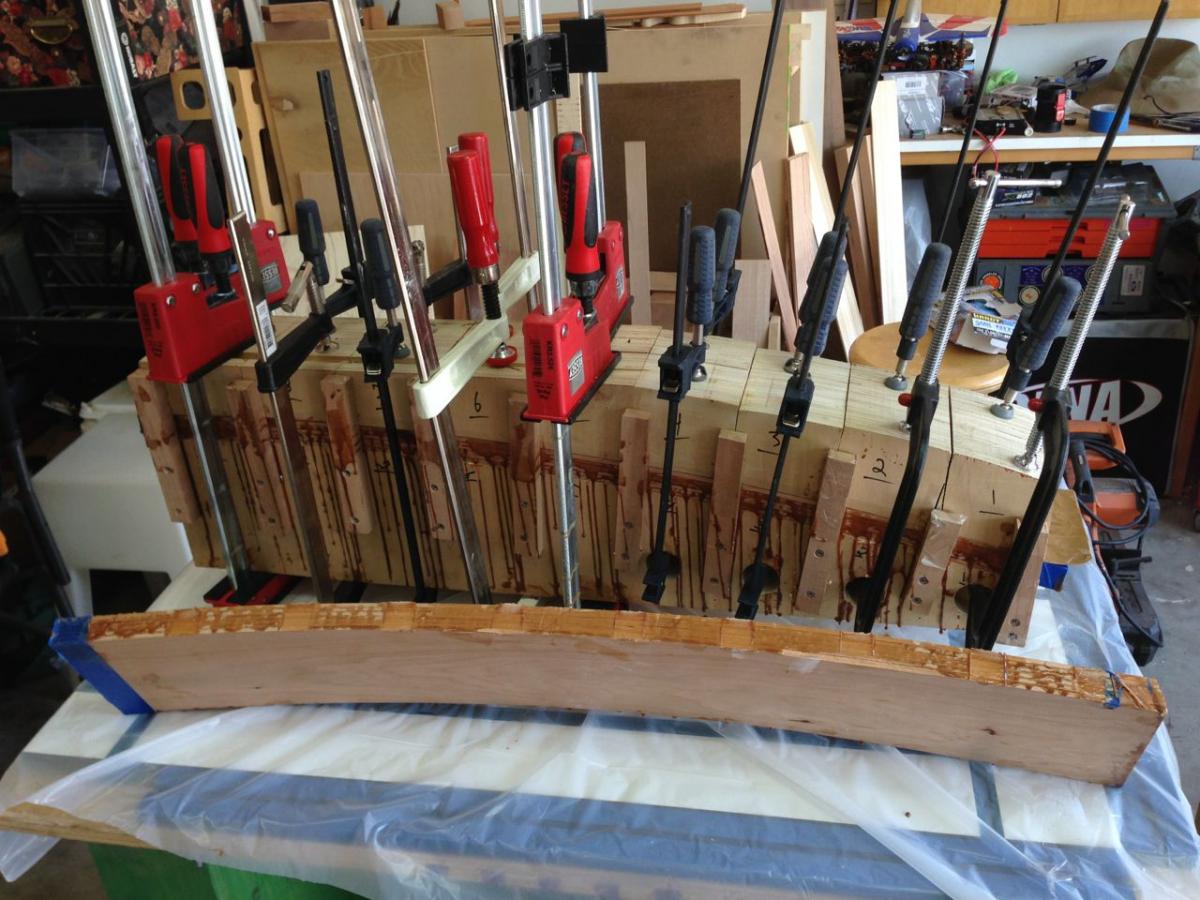
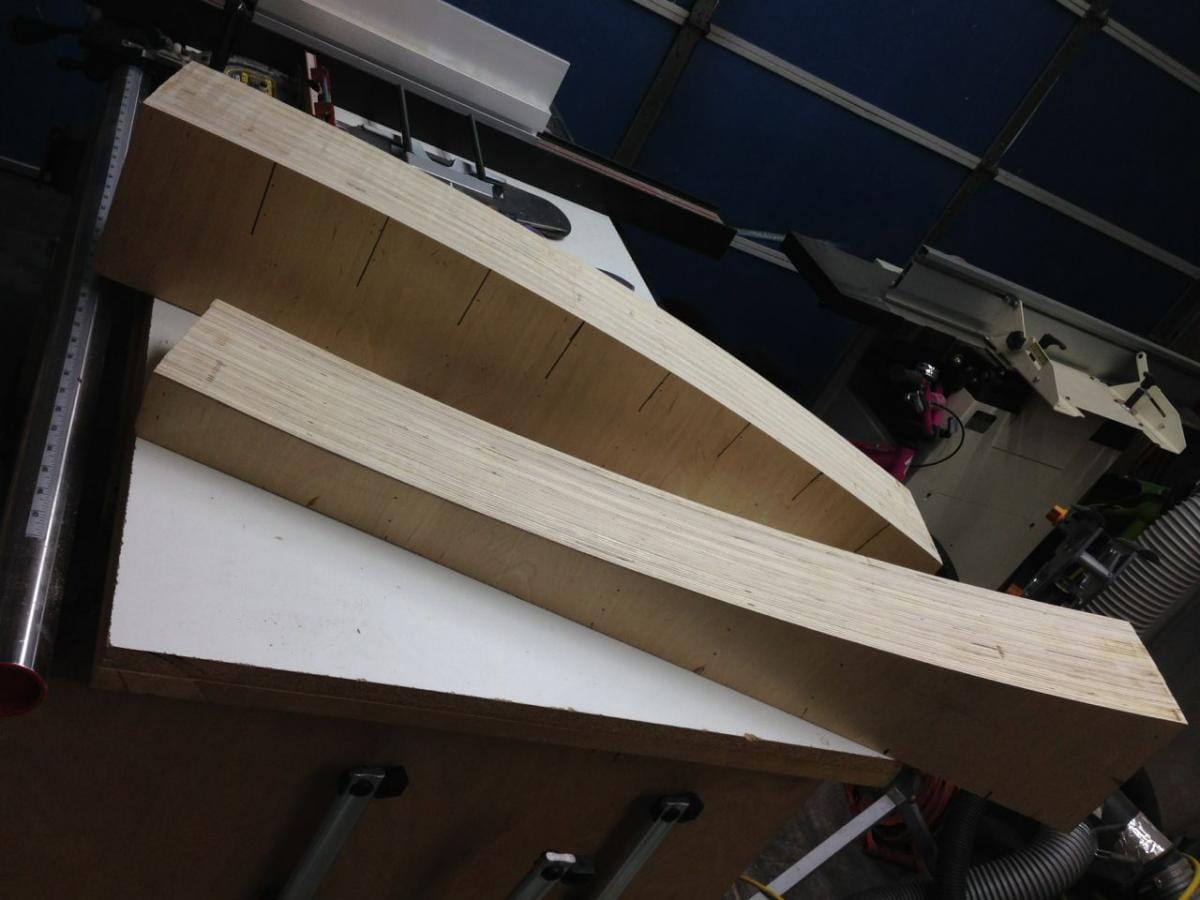
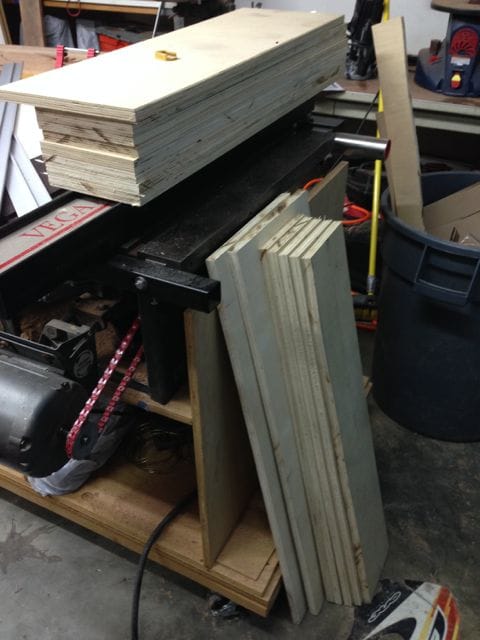
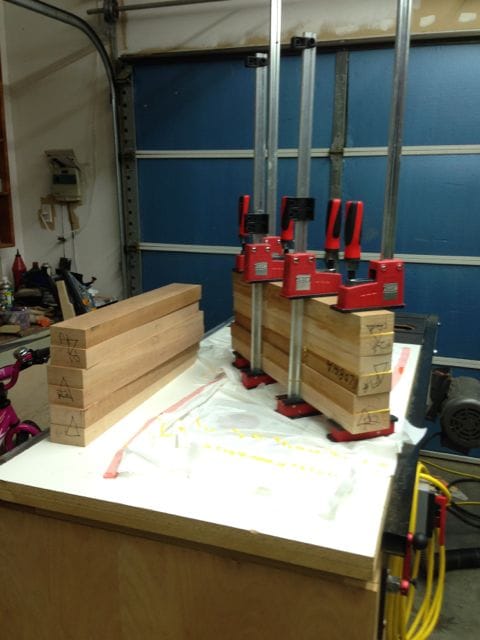
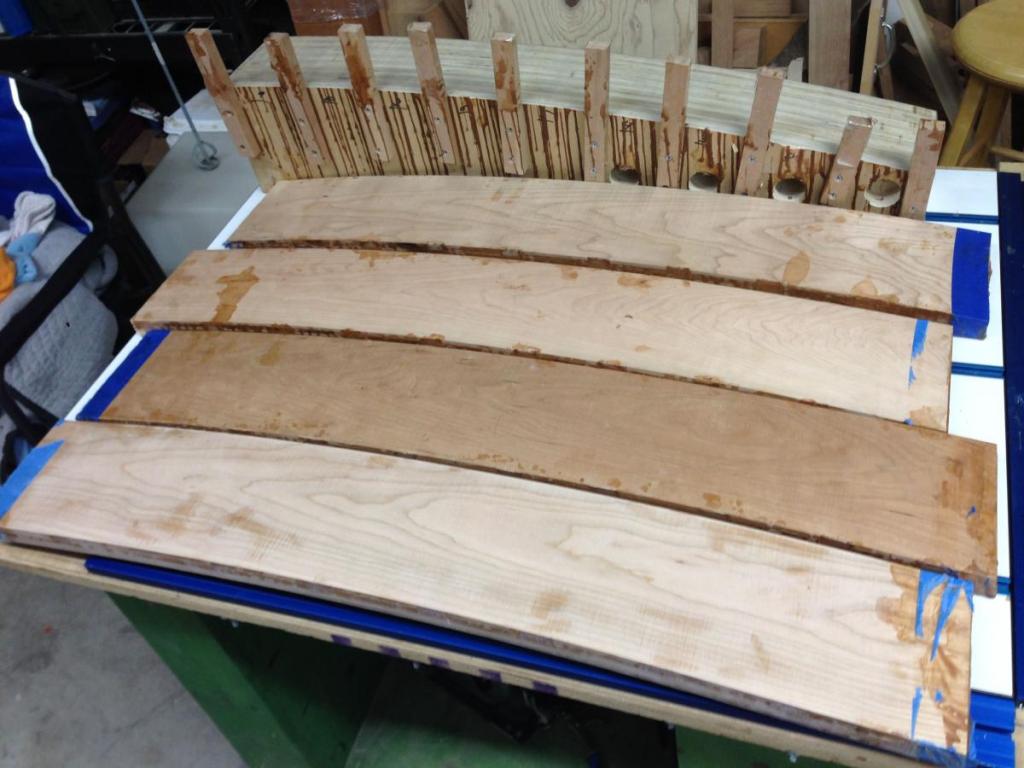
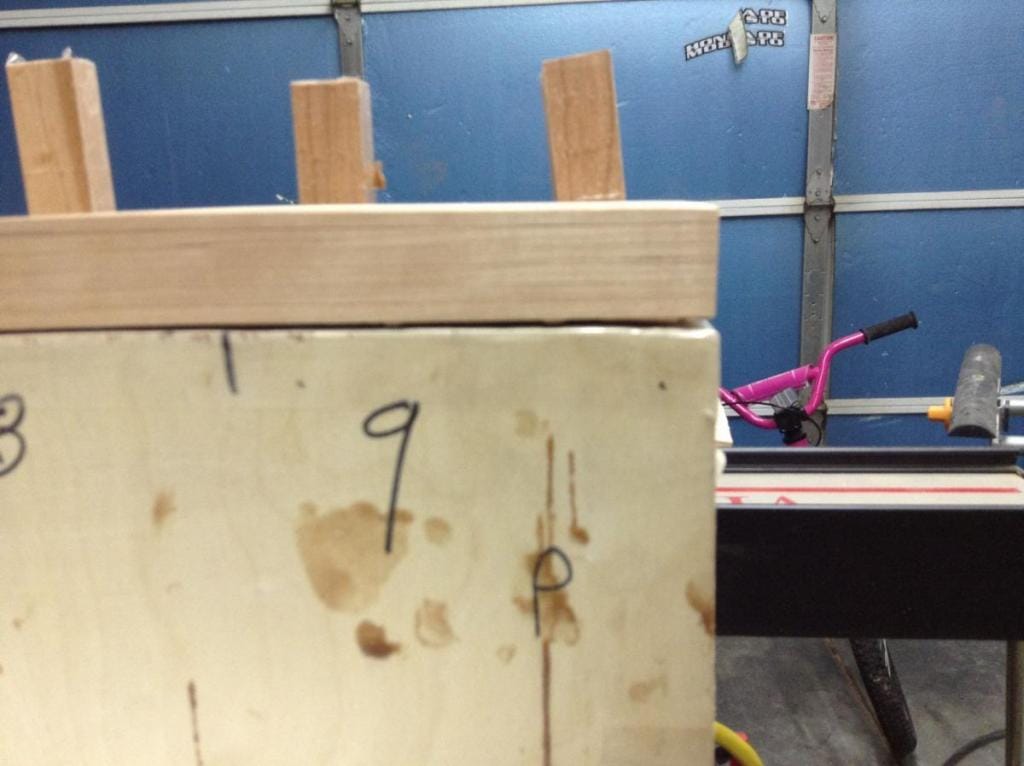
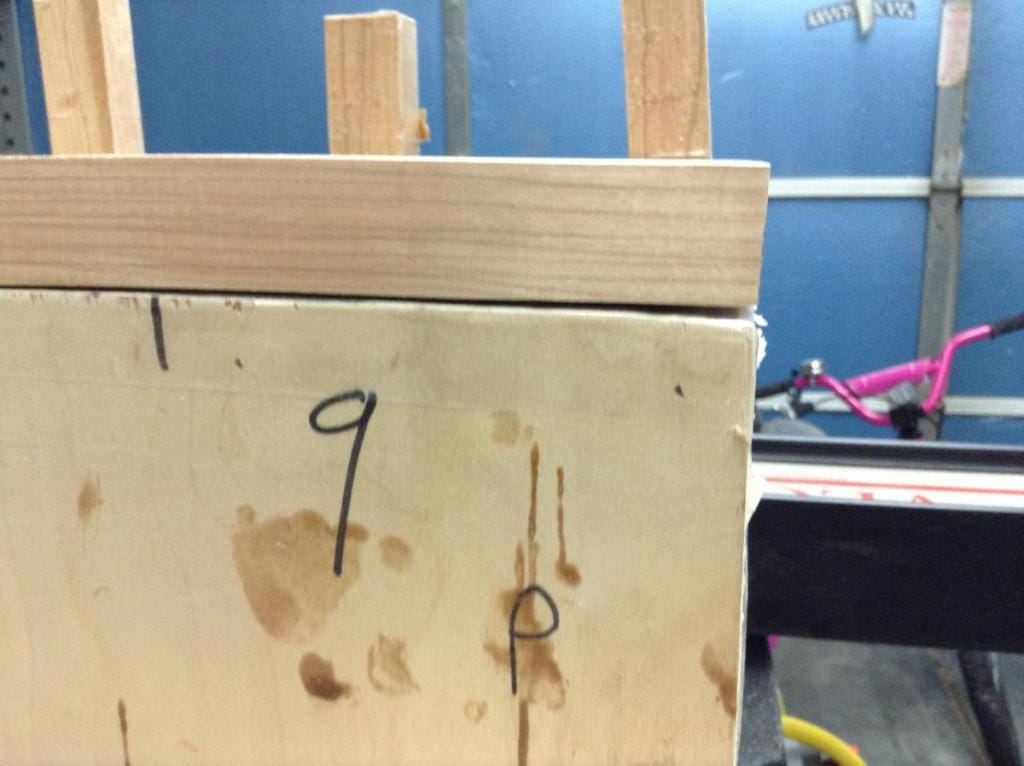
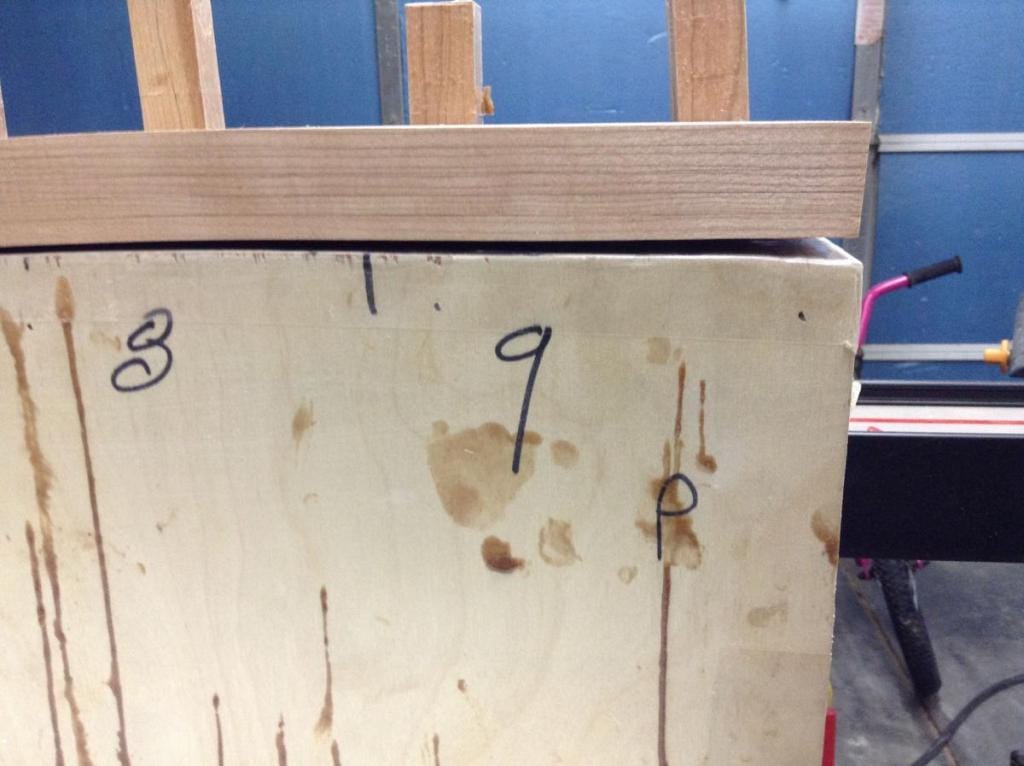
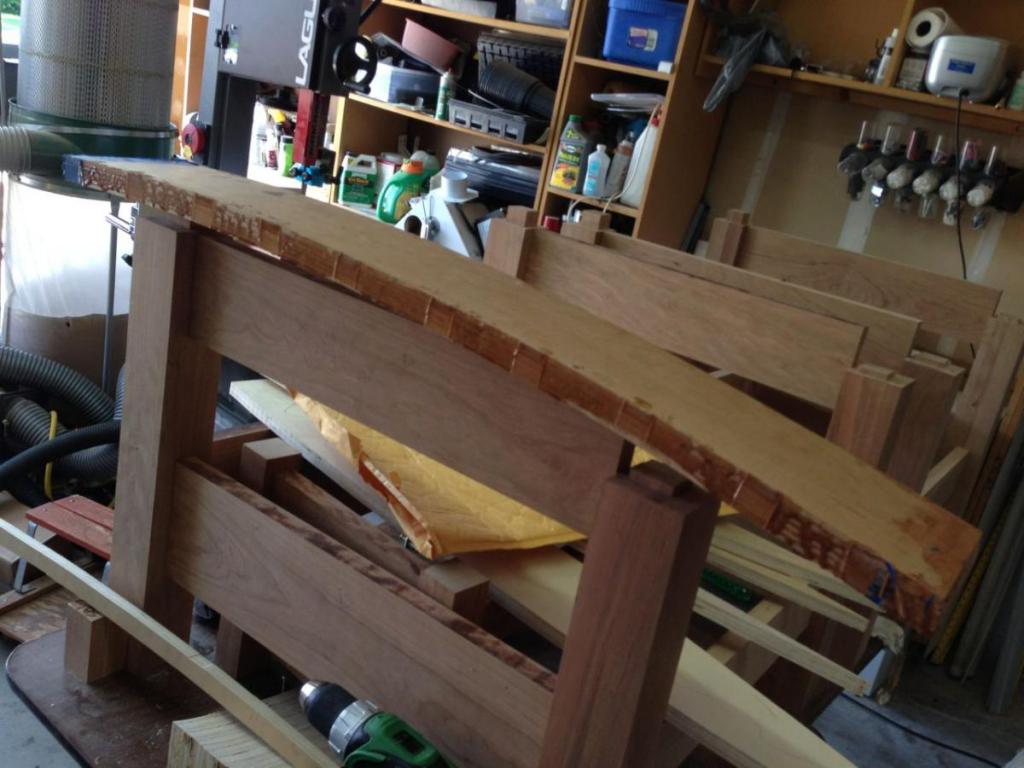
It took a few more days to get through the arms than I expected, but slow and steady progress got me there. Only a few pics to show the progress since it was fairly repetitive. I mentioned on another post that I had concerns about the thickness of my stock allowing me to get all 6 laminates for the 1 inch final thickness. My band saw was cutting nicely and things went fairly well so this was only a problem with one stack. My planer is the Jet JJP-12, the stationary combo planer & jointer. Since I had so many laminates to do I looked into alternative sled approaches, including the one from FWW mentioned in the video comments. I found that people were reporting lots of success planing thin materials with this model. After thinking about the stationary sled platform and looking at the planer design I didn't see it giving much advantage. After testing on some scrap, and applying slight bending pressure while feeding I found that it did a great job planing to the appropriate thickness without any sled or bed. I think this ended up saving me a little bit of shop time. On the one problem stack, I had made a bad cut that took some extra cleanup. I was half way through the stack and knew I had plenty material to get the 1" thickness if I did that arm with 5 layers instead of 6. Since there was discussion about glue types and the number of layers, I thought I would share what I got as far as spring back. The 5 ply arm has noticeably more springback. Won't be a problem for the chair, but it can be seen when compared to the other arms. It's just my own experience with the materials and process I used, but here are some pics to illustrate. This is before cleaning up the ends, each arm clamped into the form at the back end and letting the front float free.


-
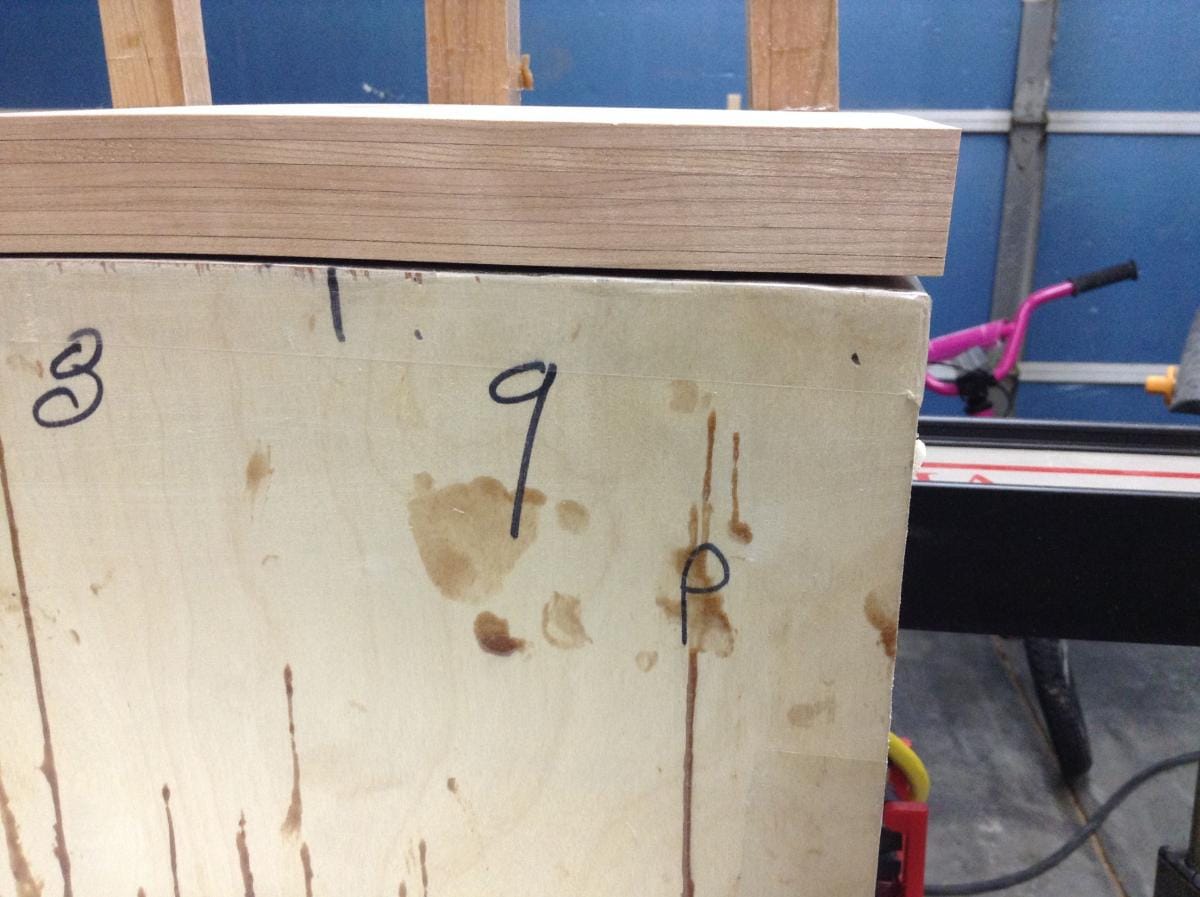
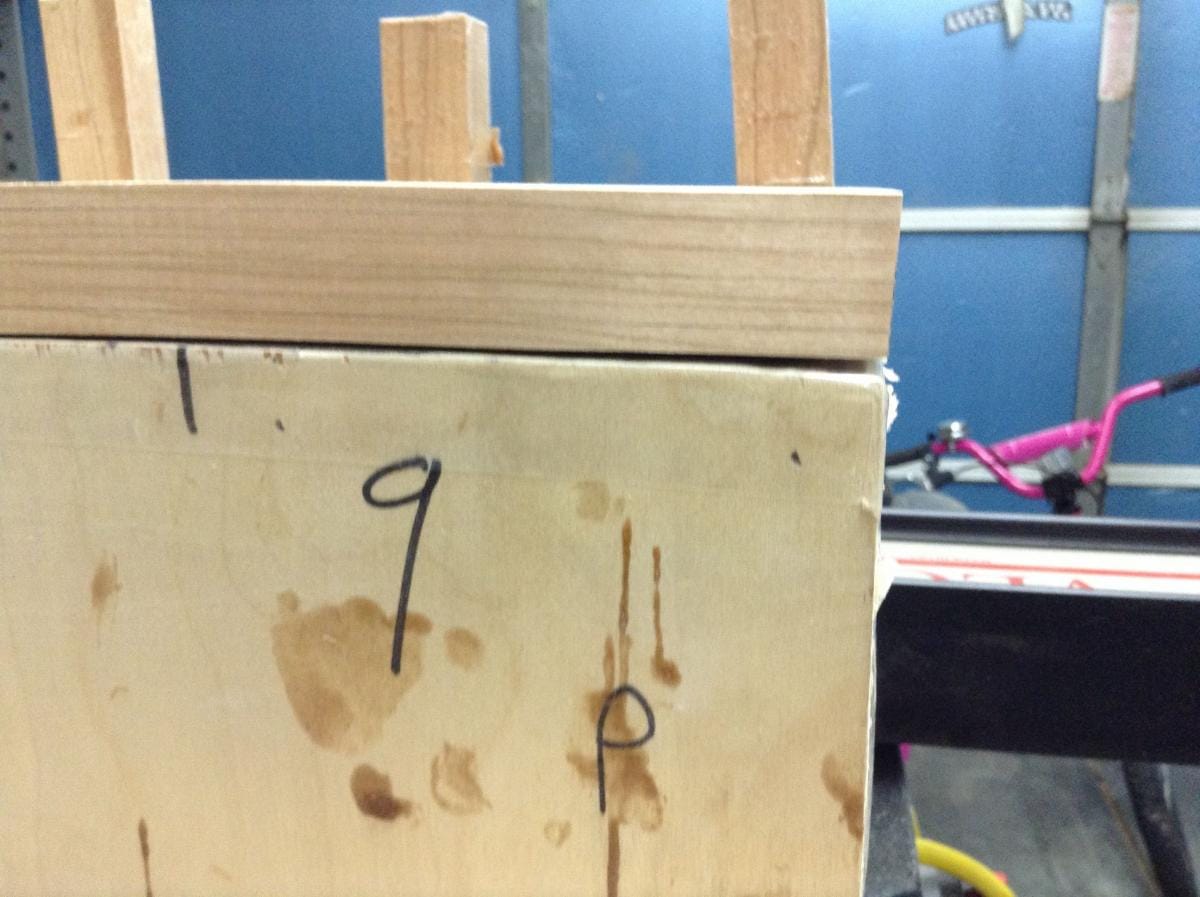
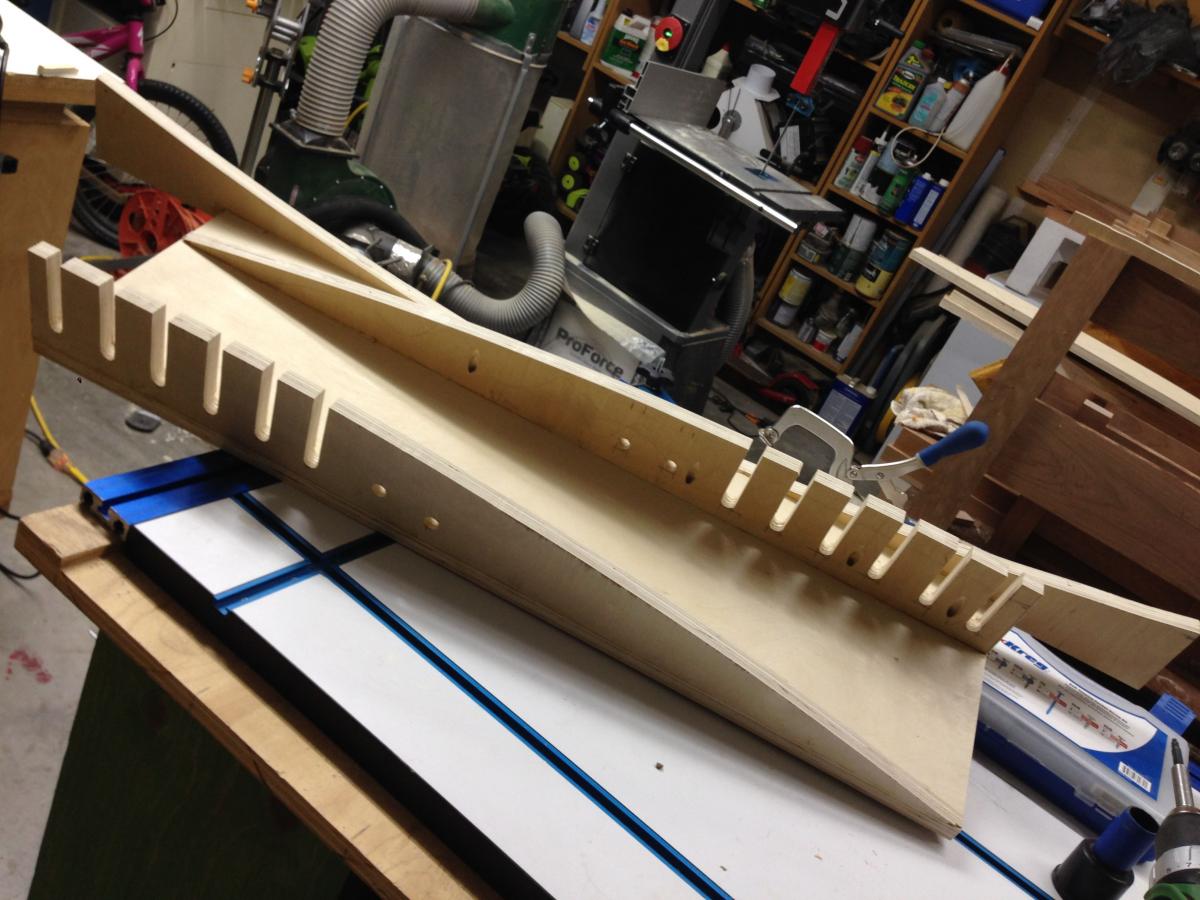
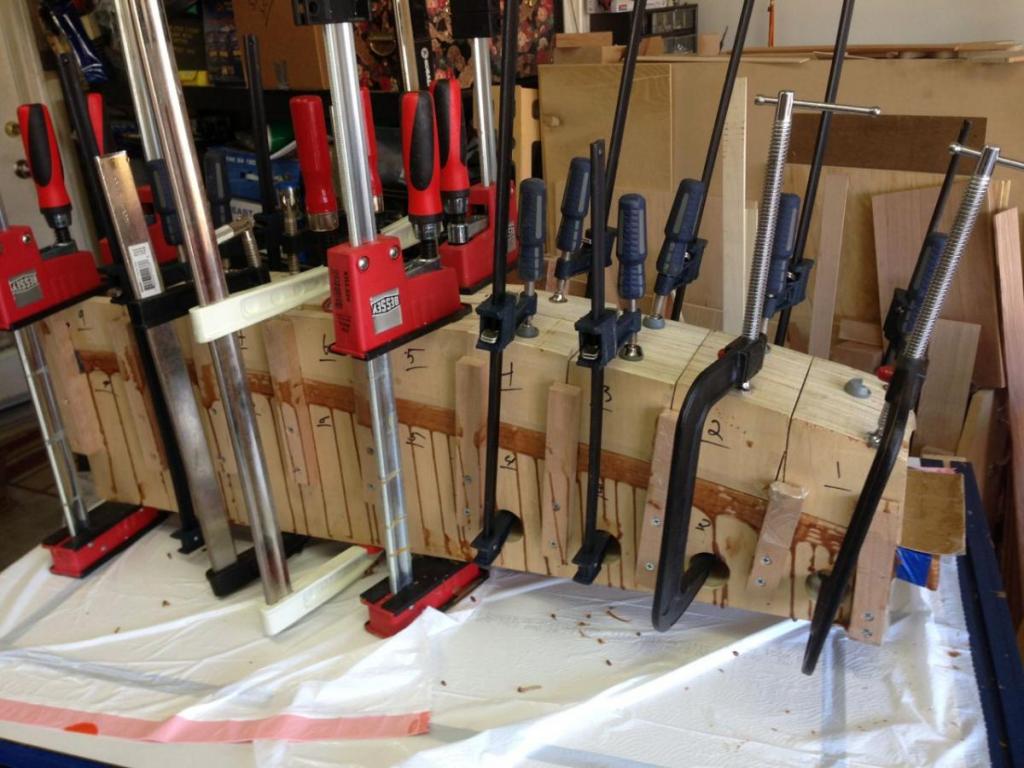
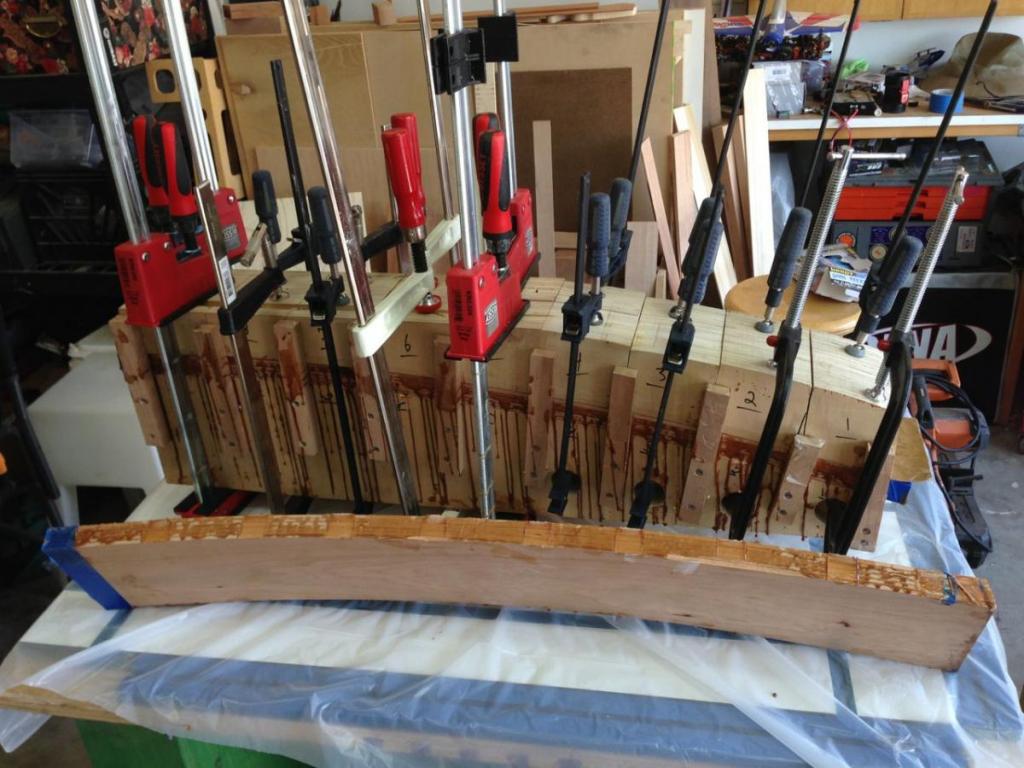
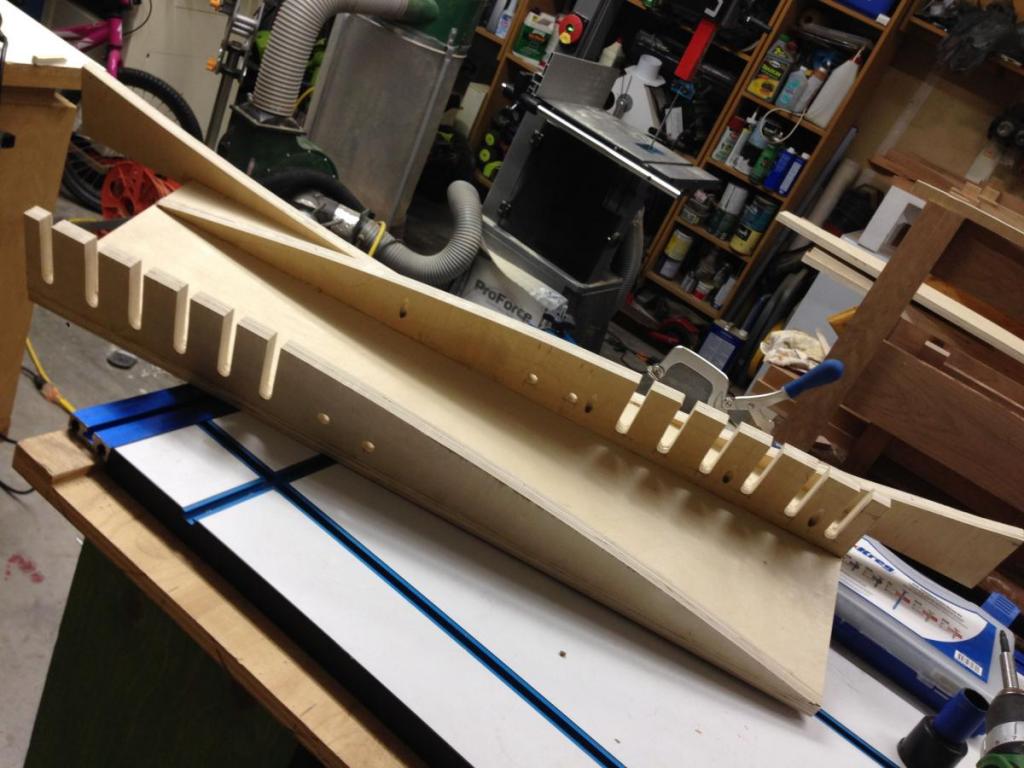
A few pics of the lamination. I could have done a much better job on the form, but it will do the job and I learned some lessons.

-
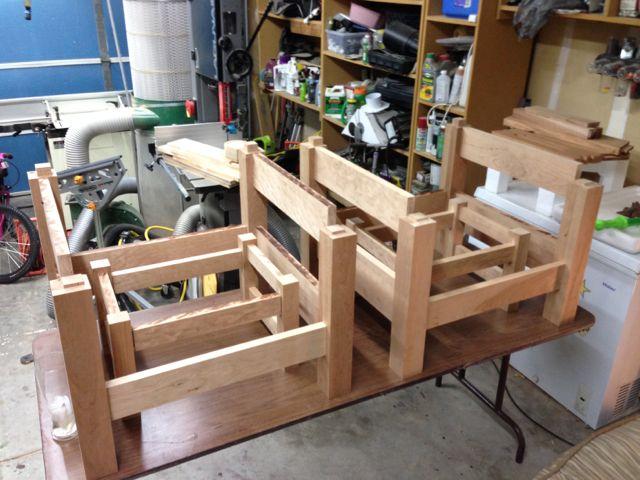
I also appreciate the info. I have a client who is moving their office much closer to Berkeley, so both of those locations will eventually be convenient for me to drop in. Based on all the work I have, it should be a while before I need wood anyway! Finally got rolling again on my Morris. It was slow going for a few weeks. Seeing the base of the chair in a dry fit felt like a big milestone and good chance to take a breather. I had some issues getting the band saw tuned up for the resaw work but starting over from square one on setup got me taken care of. Before I could do the lamination I needed some time to accumulate the glue, clamps, and especially the nerve. I got the first arm glued up and under pressure yesterday morning so I'm pretty excited about opening up the form after a couple cups of coffee. I'm looking at one arm per day with just enough time to finish all 4 before leaving for a short anniversary trip. More pics to share later today.
-
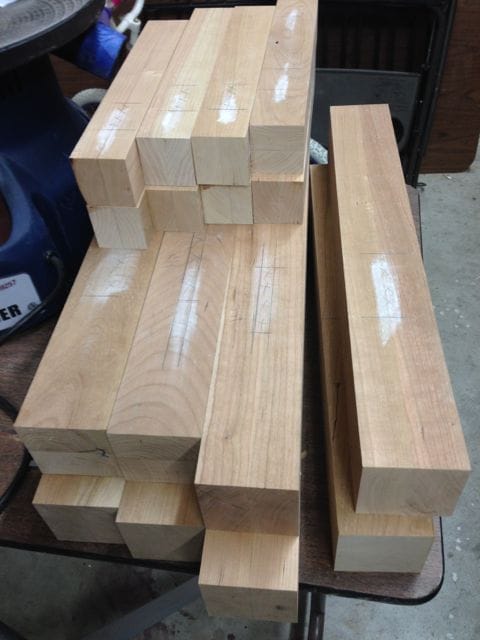
Hey, I had the pleasure of a trip to the lumber yard for additional leg stock too! Lucky for me, it was only a one-off mistake and didn't effect a whole batch. When I was cutting the legs to length I cut 5 back legs and 3 front legs. Upside was that having an extra rear leg gave me something to use while setting up and getting comfortable with the router. That extra rear leg looks like swiss cheese now. I see that you are in the SF bay area. I'm curious where you are buying lumber and who had 16/4 cherry.
-
Not much to report today, but I did screw together some of the form scrap to make a clamp rack and glue shelf.
-
To clarify, I'm not trying to take this in a G&G direction at all. I'm not interested in bringing any G&G details into this design, the observation just happened come from a G&G book. I found a few more examples of the same outside of the G&G context. It's more of an interior design question than a woodworking one. I think that having slightly different chairs makes the statement that they didn't come off of an assembly line.
-
I'm interested in some opinions on simple design changes, particularly a few minor things that could be changed at the point where Marc currently is in his build. If you have seen the thread on my builds then you know I'm building 2 chairs and stools. I made the decision to build two based on circumstance and didn't really think things out. Last night I was browsing through Greene and Greene Masterworks, with a little extra attention on the chairs. What I noticed is that in the photos where you see multiple Morris chairs in a room, none match. There are matching chairs across different houses, maybe even different rooms...but you don't see 2 of the same chair in one room. I'm wondering if I should try to make each chair a little bit unique. I'm fairly new to this stuff, so I don't want to get too far from the plans. It seems like it would be fairly easy to do an alternate slat design. Maybe some kind of difference in the leg taper? I would appreciate some feedback on the subject of building matching chairs vs different chairs, as well as any ideas for opportunities for minor changes to the design.
-
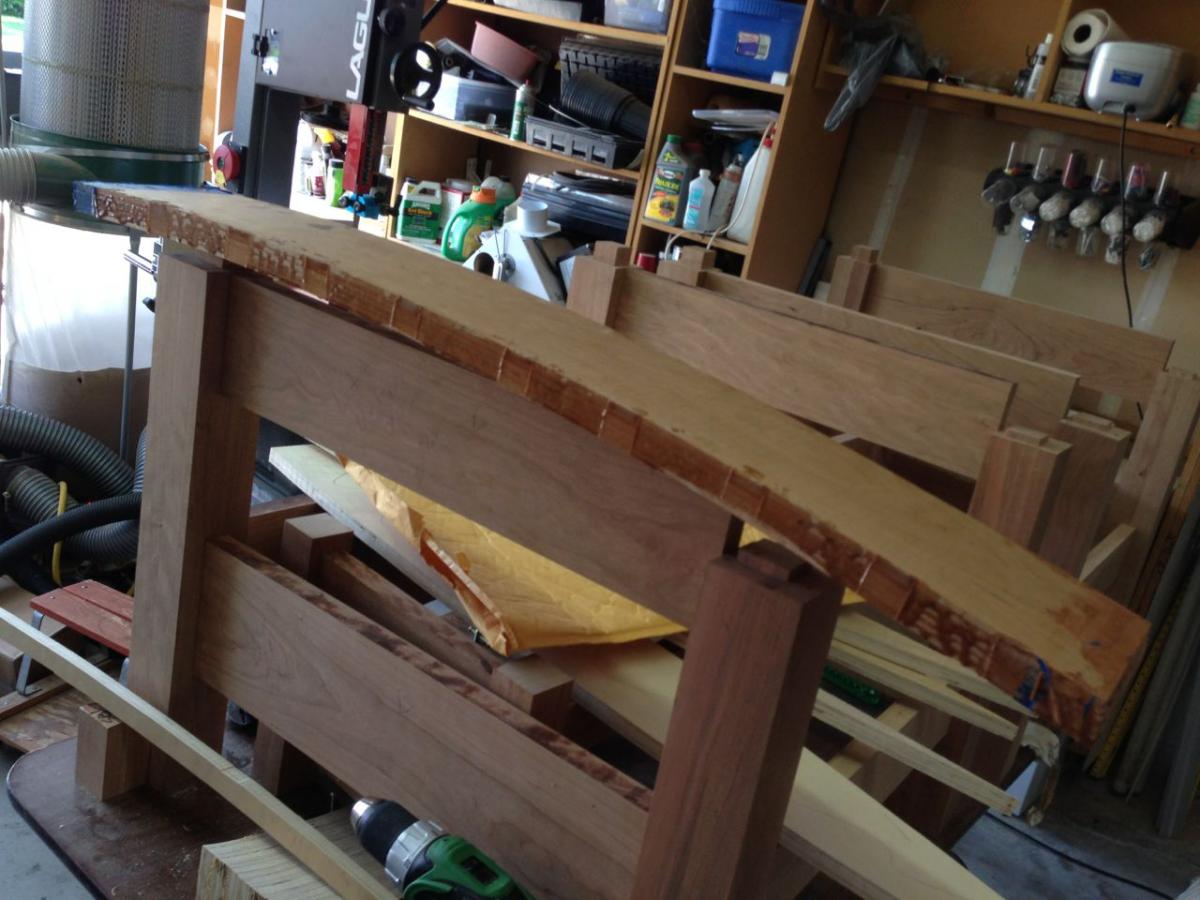
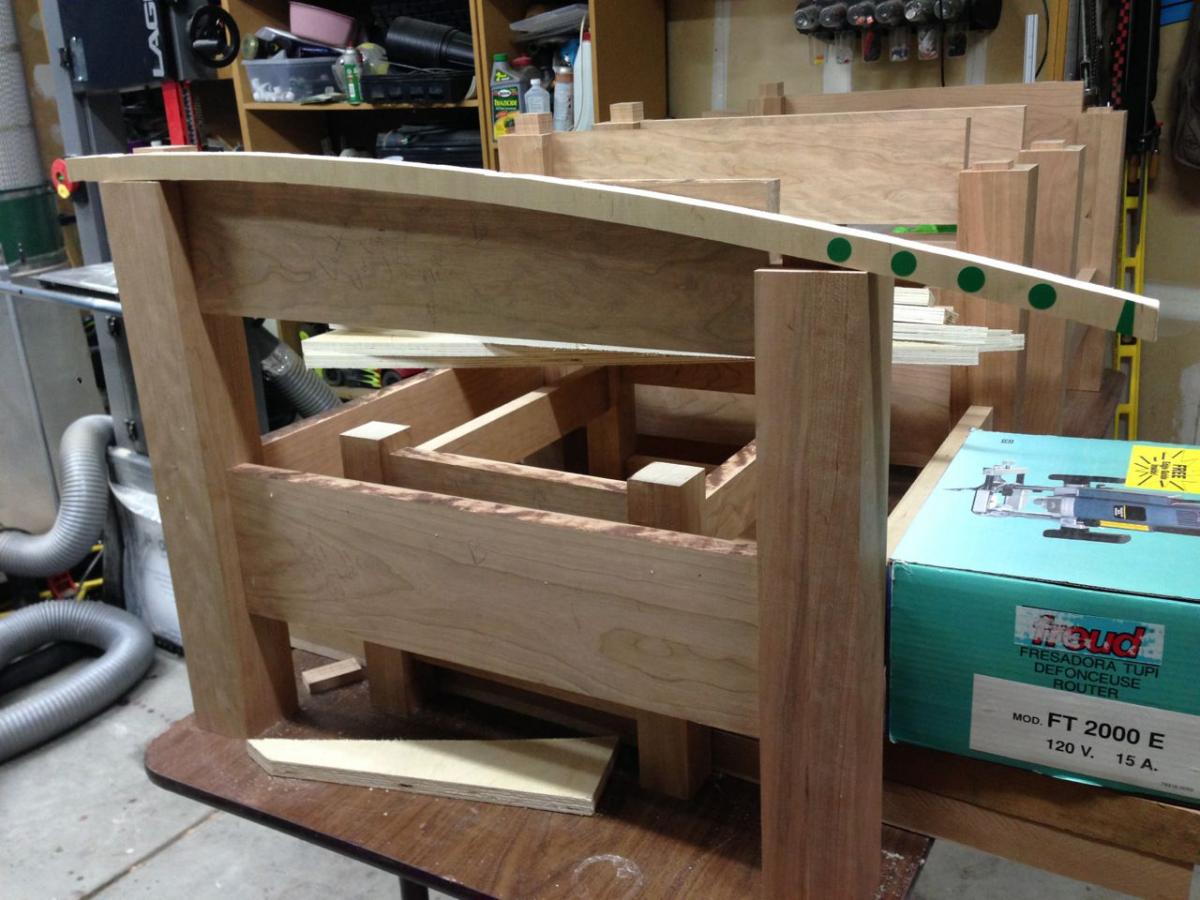
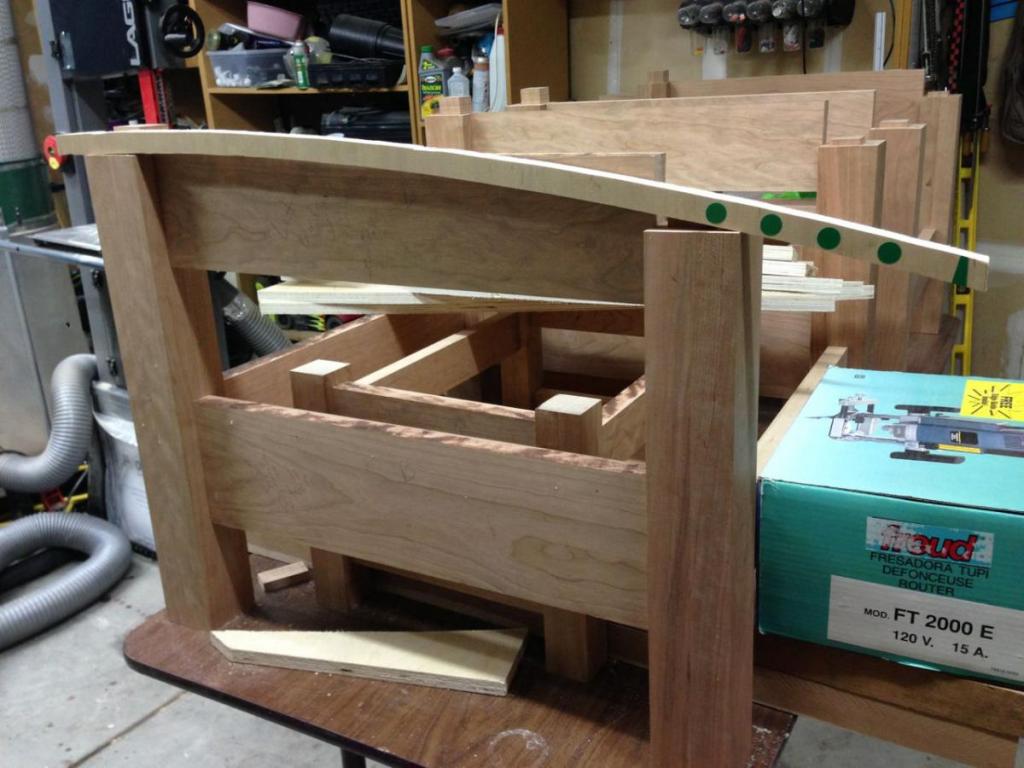
Making the forms was fun. I know that it's important to build a quality form but it was nice to work with not-so-precious plywood...can relax a little bit and not worry about messing up real parts. Setting this off-cut in place over the chair base went a long way in visualizing the project. Looking at this in position with the general shape of the curve lets my minds eye also see the curves on the side rails. The tapers come out of hiding a little bit and it comes to life. Pretty exciting for me!

-
Getting started on the forms now. I'm pretty sure that this is going to be my favorite part of the project, because you only have to build 1!

-
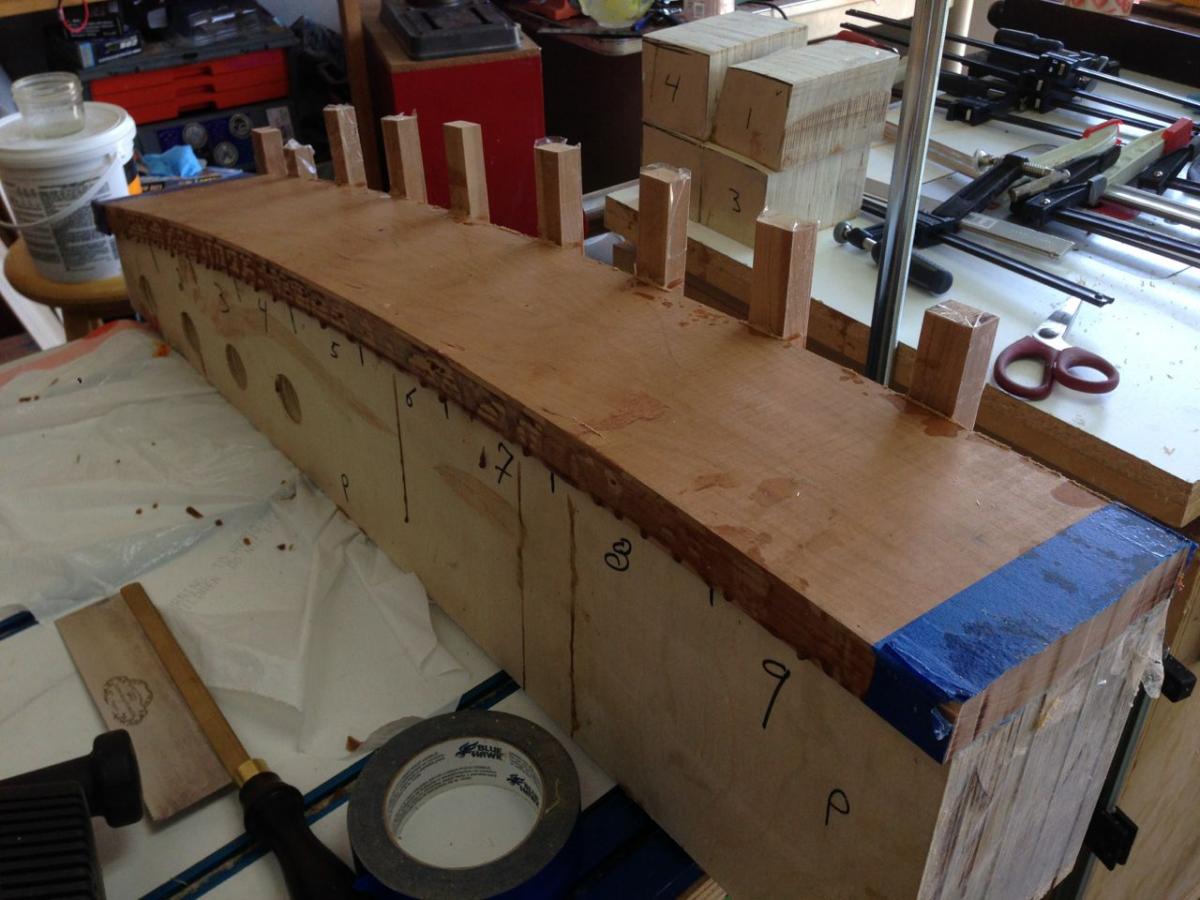
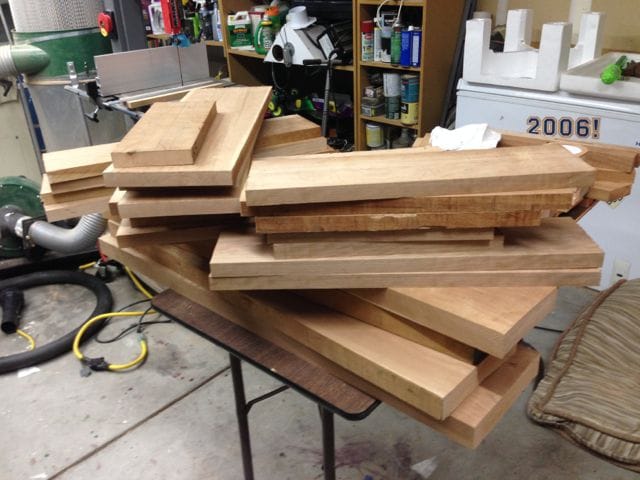
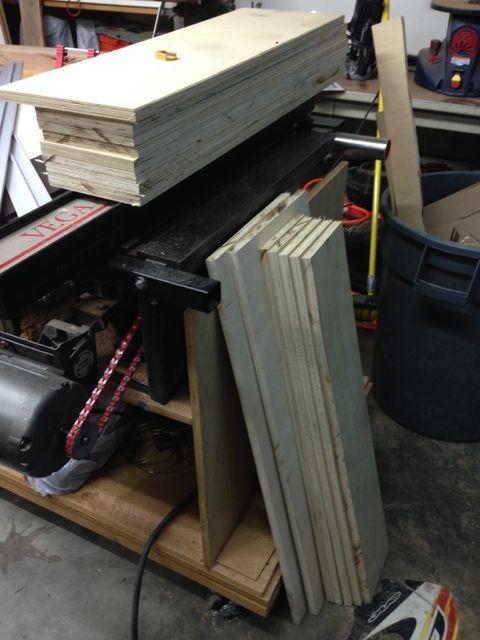
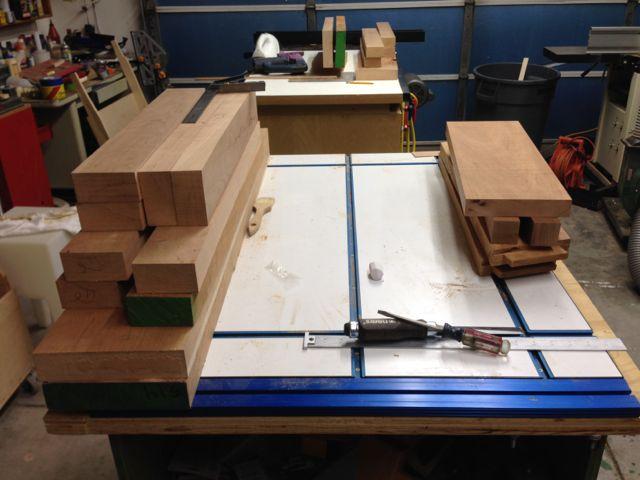
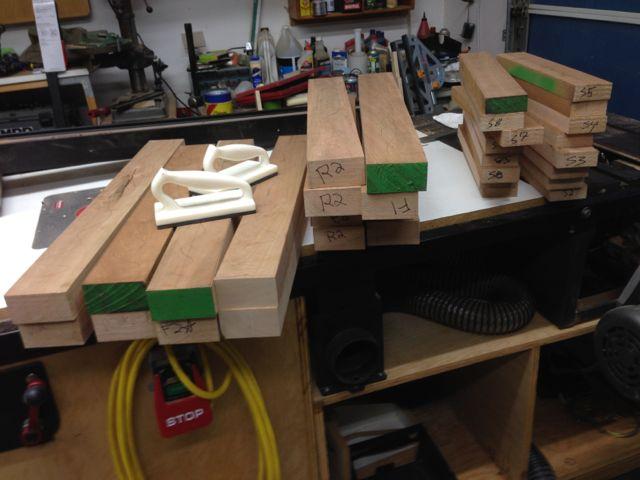
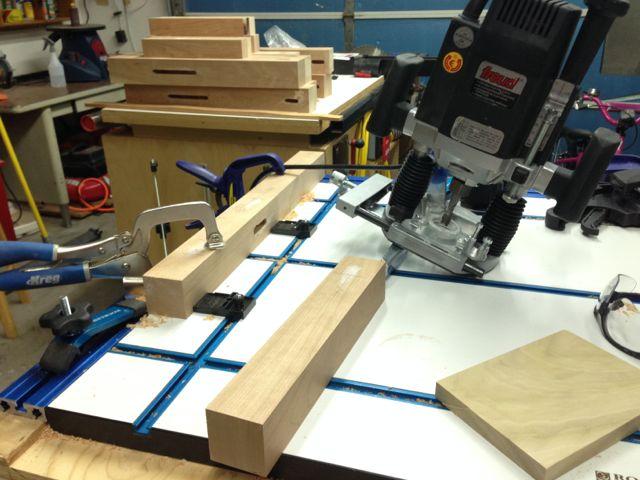
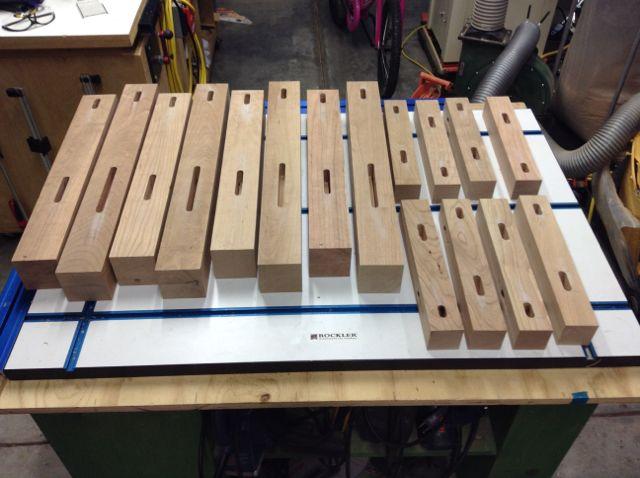
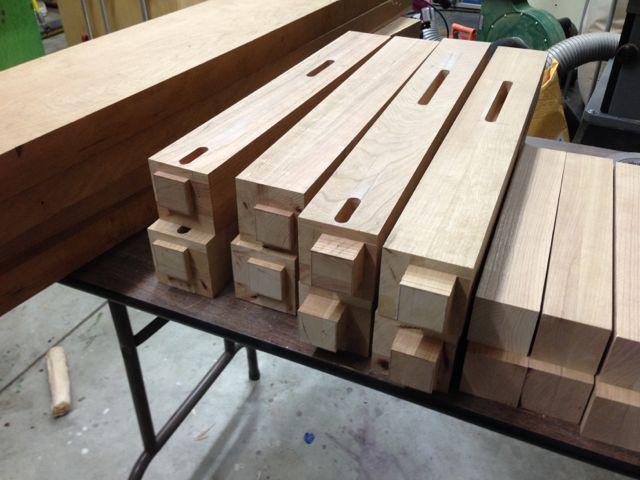
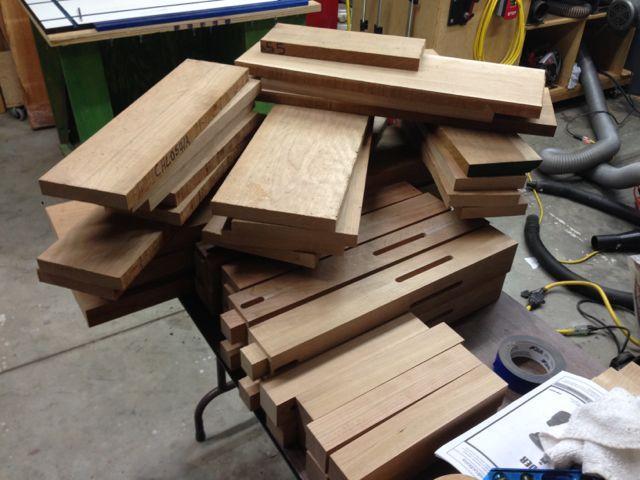
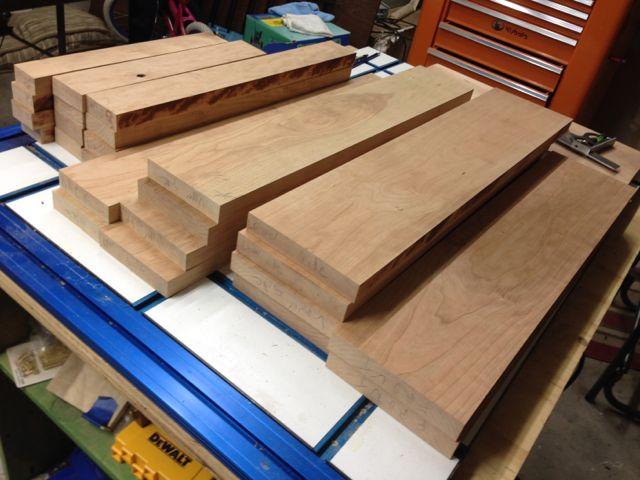
Coming up for air after lots of milling and mortising and it seems like a good time to share my progress. You will also see some adirondack parts in the background. I got started on that as a warm up project in April and I am trying to keep it moving along with the Morris. I'm fairly new to woodworking. Long time DIY type, but had some projects during the holiday season that required some woodworking. I started out bringing an old table saw back to life, but since then I have gone fully down the rabbit hole. I got my lumber home and as I was laying things out I realized that I had nearly enough 8/4 lumber to make 2 sets of legs and arms. I decided to double down and make 2 chairs and stools. Getting the legs milled and glued up, this is when I started to understand what I was getting myself in to. With the legs at dimension, things got fun again. When laying out the mortises you get to put parts in place and really imagine things coming together. Once I had mortises laid out on all 16 legs, it was clear that my plans to cut mortises on the router table was going to be problematic. I lucked out and a family friend had a great router setup I was able to borrow. I will probably keep my eye out for this same Freud model on the used market. Very impressed with the dust collection and edge guide, and I breezed through the mortises once I was setup. Next up was the rails. At this point I'm flowing pretty good with the actual woodworking operations but trying to plan ahead on ways to keep the growing inventory of parts safe and organized.


-
Minimum Bandsaw Resaw Capacity for this Build
nholderbein replied to woodworker100's topic in The Wood Whisperer Guild
Ssshh. Don't say that too loud. The wife will find out I could have used a friend's, instead of ordering a new Laguna! -
After doing some milling and getting deeper into the boards, the problem spots turned out to be unavoidable. I got back in contact with Bell and there was no hesitation at all in taking care of me. Good service confirmed.
-
I ordered the Adirondack package from Bell recently because I didn't have a local supply for Mahogany (since then, local inventory is better). I had fairly high expectations based on the premium. The selection of wood that I ended up left a little to be desired with respect to board widths. I understand that Bell is working with a natural product and what they have available. There was a quality issue with a small amount of the lumber but I think I can work around the bad spots. I corresponded with Bell about my experience following a request for feedback. They responded quickly with an explanation about what they had on hand. I have every reason to believe that if the quality issue turns into a problem on my build, Bell will take care of me. I'm not expecting to need anything, but it's clear that they care about customer service and want to earn the business. Shopping around for lumber for the Morris and I'm fairly certain my local supplier is going to be a better option for me. They don't have rough 5/4, only s2s that measures exactly 1". The 8/4 is also surfaced and measures closer to 1 3/4. I can save a lot of money if I can make that work...but if not, Bell will be high on my list of options.