Randy Thurman-Keup
-
Posts
39 -
Joined
-
Last visited
Recent Profile Visitors
1,614 profile views


Randy Thurman-Keup's Achievements
Apprentice Poster (1/3)
8
Reputation
-
 Randy Thurman-Keup changed their profile photo
 -
Just watch Rob Cosman's latest videos on making drawers
-
One of the experimental tests of this was carried out at the national lab where I work. They didn't find any evidence for it.
-
That's right. It would slip by approximately 1 degree over the 4 years between leap years. For reference, the full moon is 1/2 degree.
-
The constellations will appear in the same location at the same time once a year. If you want an experiment, consider yourself to be the earth, and your table saw to be the sun (assuming you have a table saw and assuming it is in the middle of your shop). Now orbit yourself around it making sure you always face away from it (as though it was always midnightish) and notice what parts of your shop you see (your shop being the stars). If you execute this maneuver without tripping over something, you should see different parts of your shop until you return to the place you started. Congratulations, you are one year older.
-
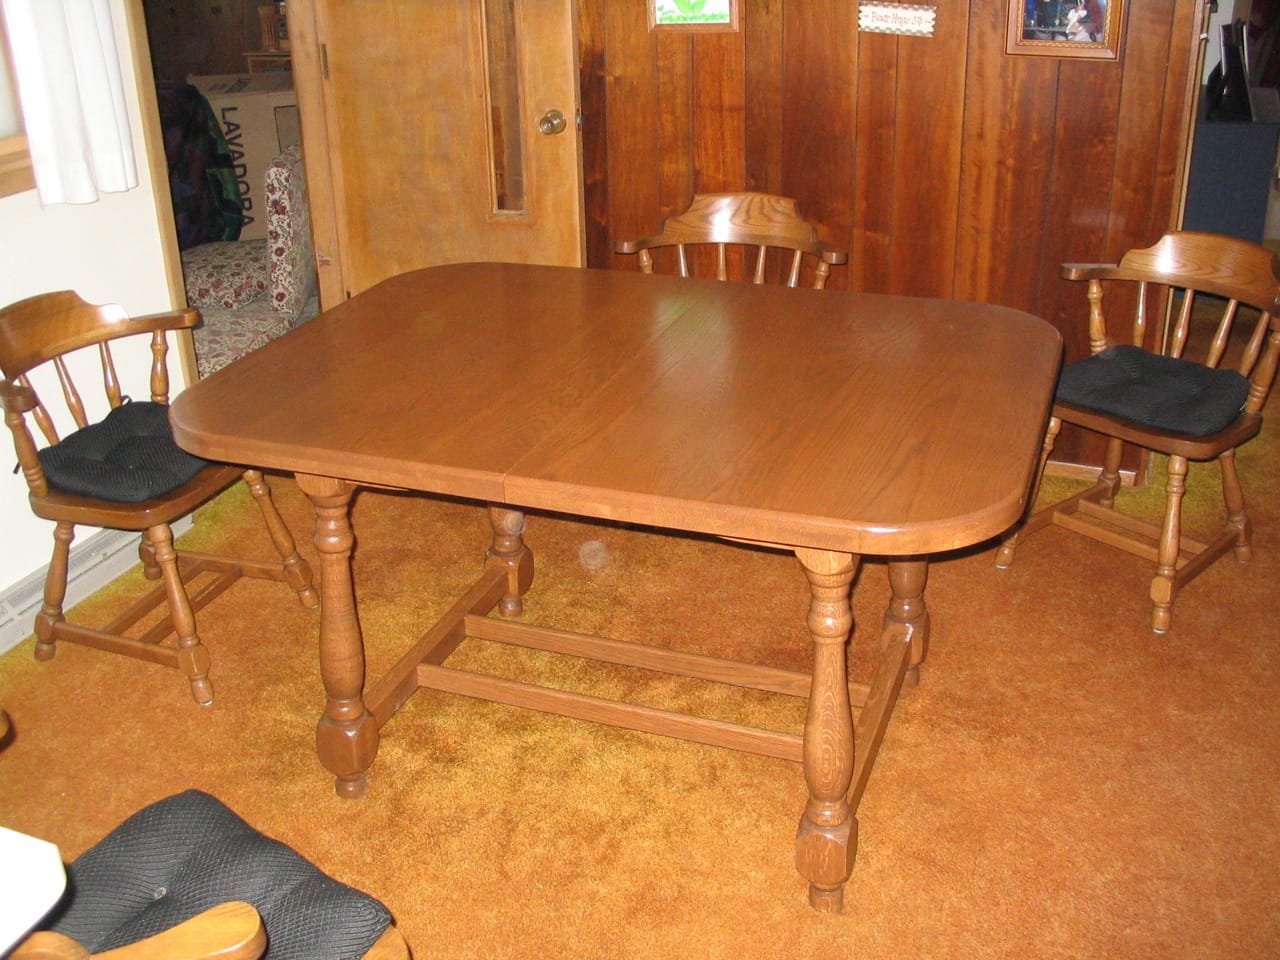
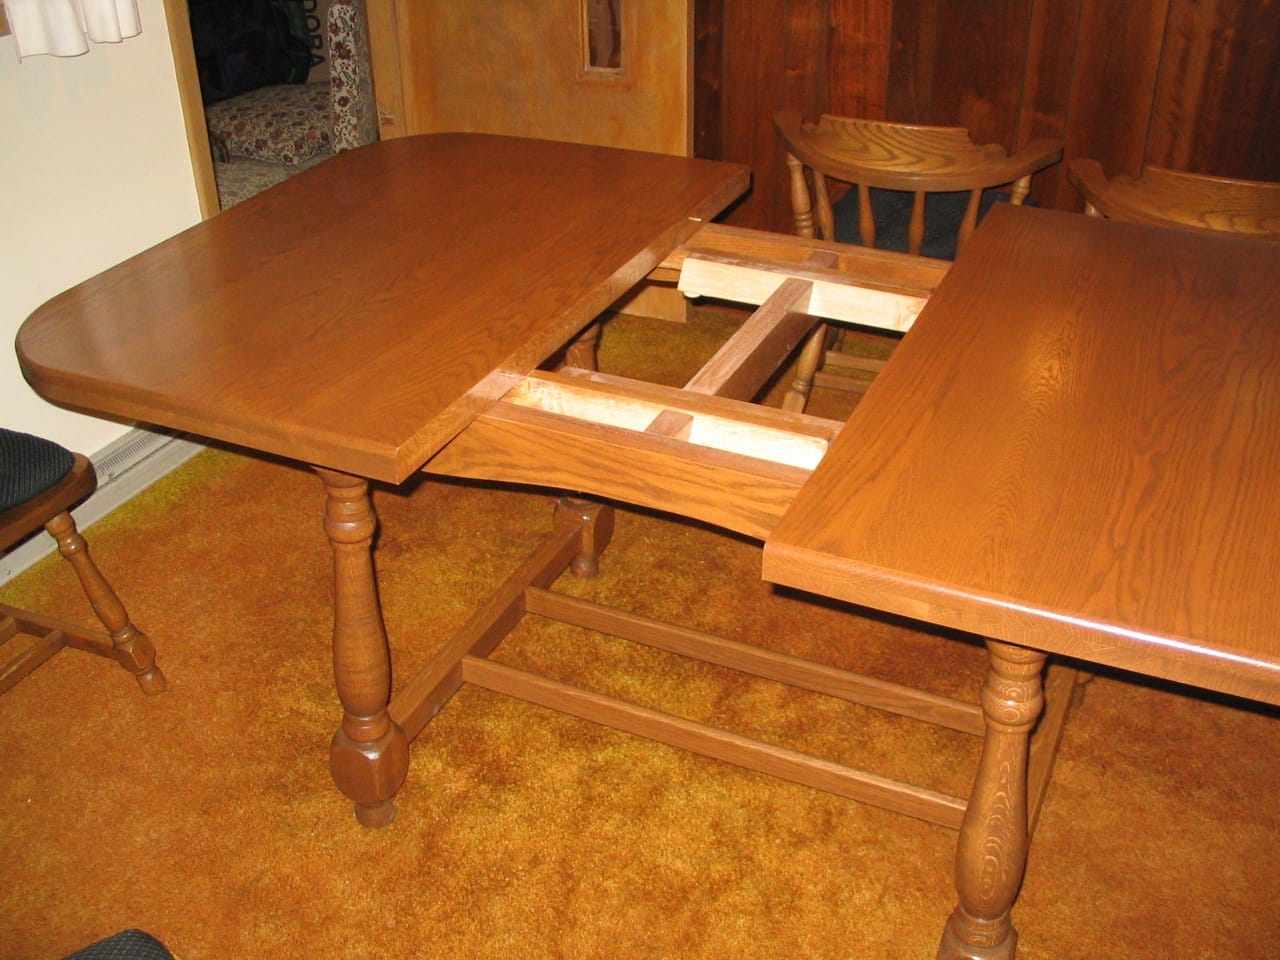
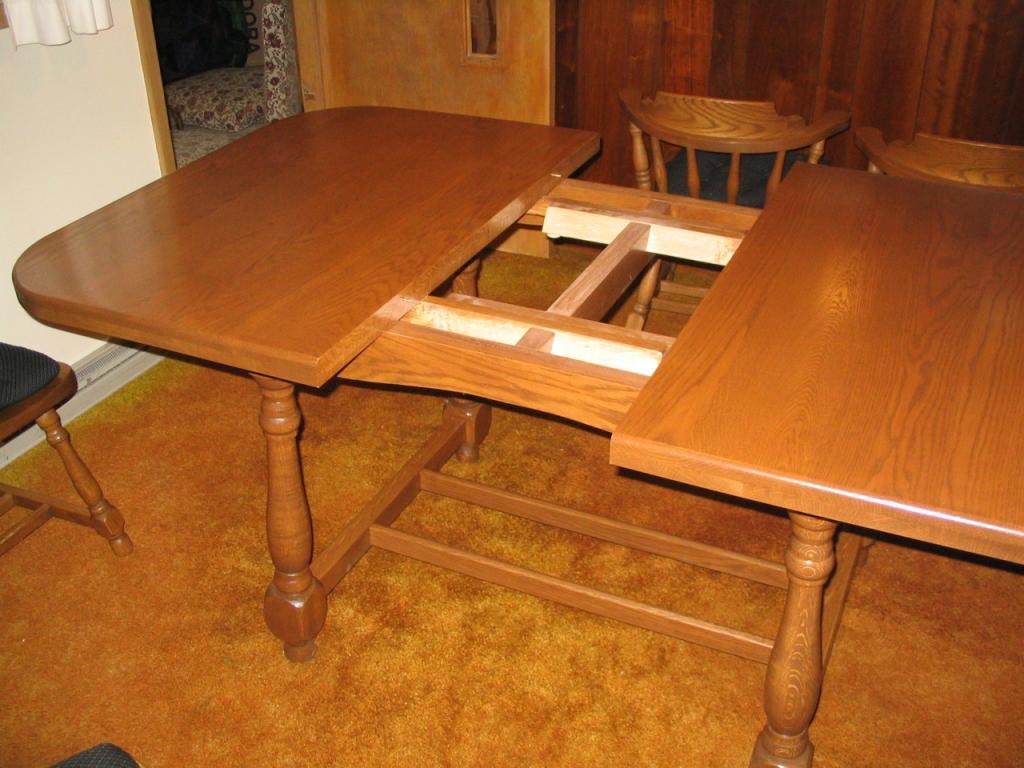
Show off your dining room table!
Randy Thurman-Keup replied to N00b-in-training's topic in General Woodworking Talk
Made this for the parents. They had the chairs for many years, so I made them a table to match. Well, actually it was a joint effort with my brother and grandfather.
-
Forum Ads and Support
Randy Thurman-Keup replied to thewoodwhisperer's topic in General Woodworking Talk
I selected Paypal, then the form changed from listing the credit cards to a button that said something like Pay now or Connect to Paypal or some such thing, I clicked that button and then I got an error page (still part of woodtalkonline site) that said something about it failing and told me to select a different payment method. I tried to replicate the scenario now but since I've already purchased it, I wasn't allowed to add it to the cart. Otherwise I could post a pic of the page. But I definitely never got to the paypal site. -
Watched the latest online episode of NYW today (#105 Bedside Table). Noticed how empty Norm's shop was in the first season of the show. Also watched with great interest as he made a breadboard top for the table and proceeded to completely glue the breadboard ends to the top, despite later in the episode talking about NOT gluing the bottom plywood panel in the drawer to allow for expansion and contraction. Made me laugh a bit.
-
Forum Ads and Support
Randy Thurman-Keup replied to thewoodwhisperer's topic in General Woodworking Talk
Hmm, Paypal failed for me. Tried twice. I had to go upstairs to get my wallet, only to remember that I had left it by the computer. -
I was watching an old online episode of DIY networks Renovation Realities tonight. The home owner was trying to cut out a stump of sorts next to a chain link fence when the saw kicked back and, well... you can imagine. It made me jump a bit when it happened. Fortunately the guy only got a small gouge on the top of his shoulder, but it could have been much worse.
-
I don't think I watched any videos, but I did a fair amount of online reading. Eventually I printed out a document from the vintage saws website. http://www.vintagesaws.com/library/primer/sharp.html That led me through most of the sharpening process. This was actually the second saw I tried sharpening. The first was a smaller backsaw, like 12 or 13 ppi. I filed that one freehand and that was a mistake. The advice of embedding the file in a block of wood to keep the angle constant was a big help. Even for the fleam I used a block of wood to set the fleam angle as well. Thanks, I will definitely make a new handle for it. Still wading through the blogs and websites. As for the rabbit hole, I think it's going to take some effort to keep from slipping further.
-
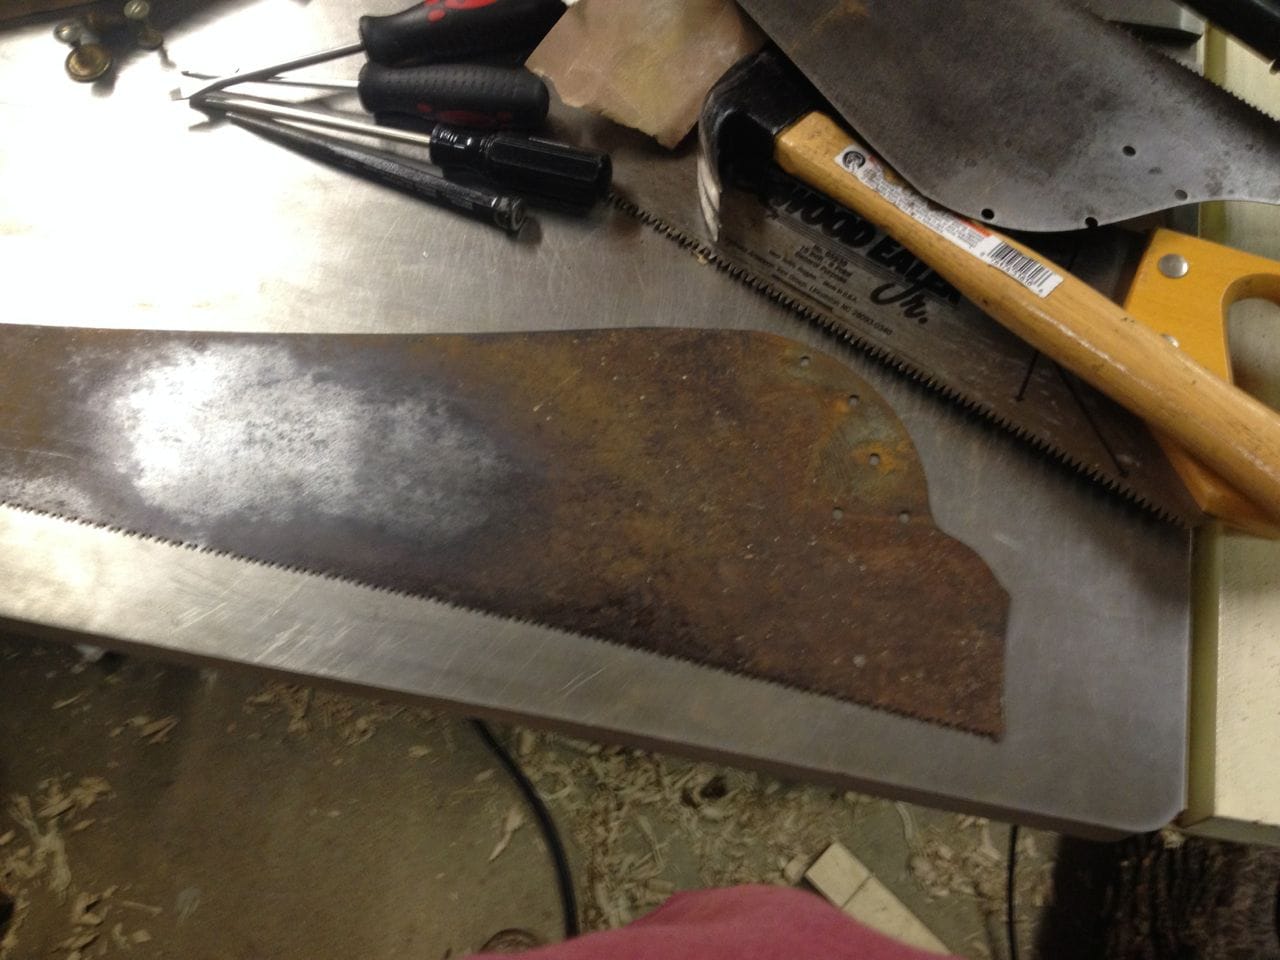
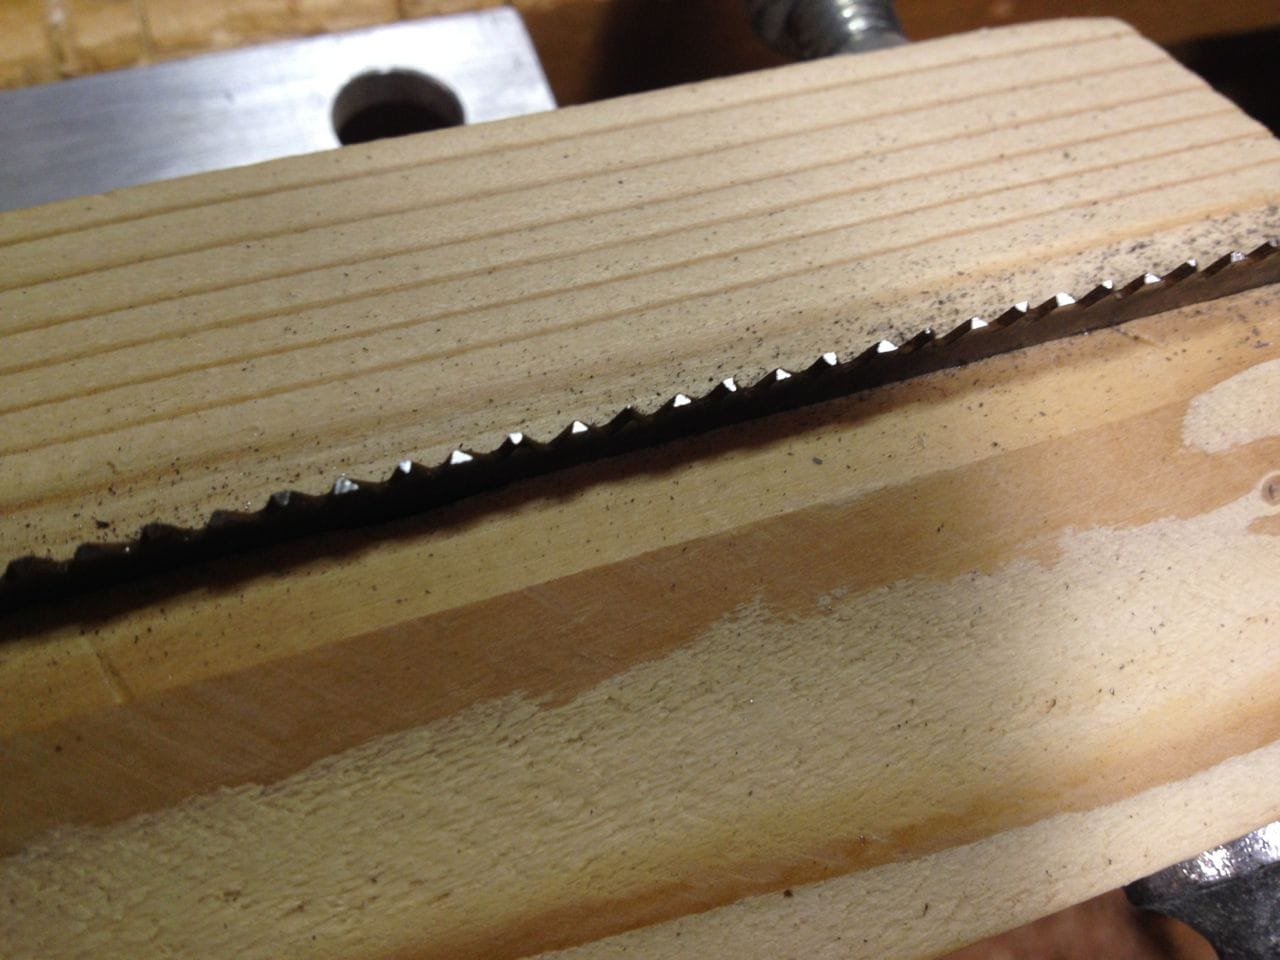
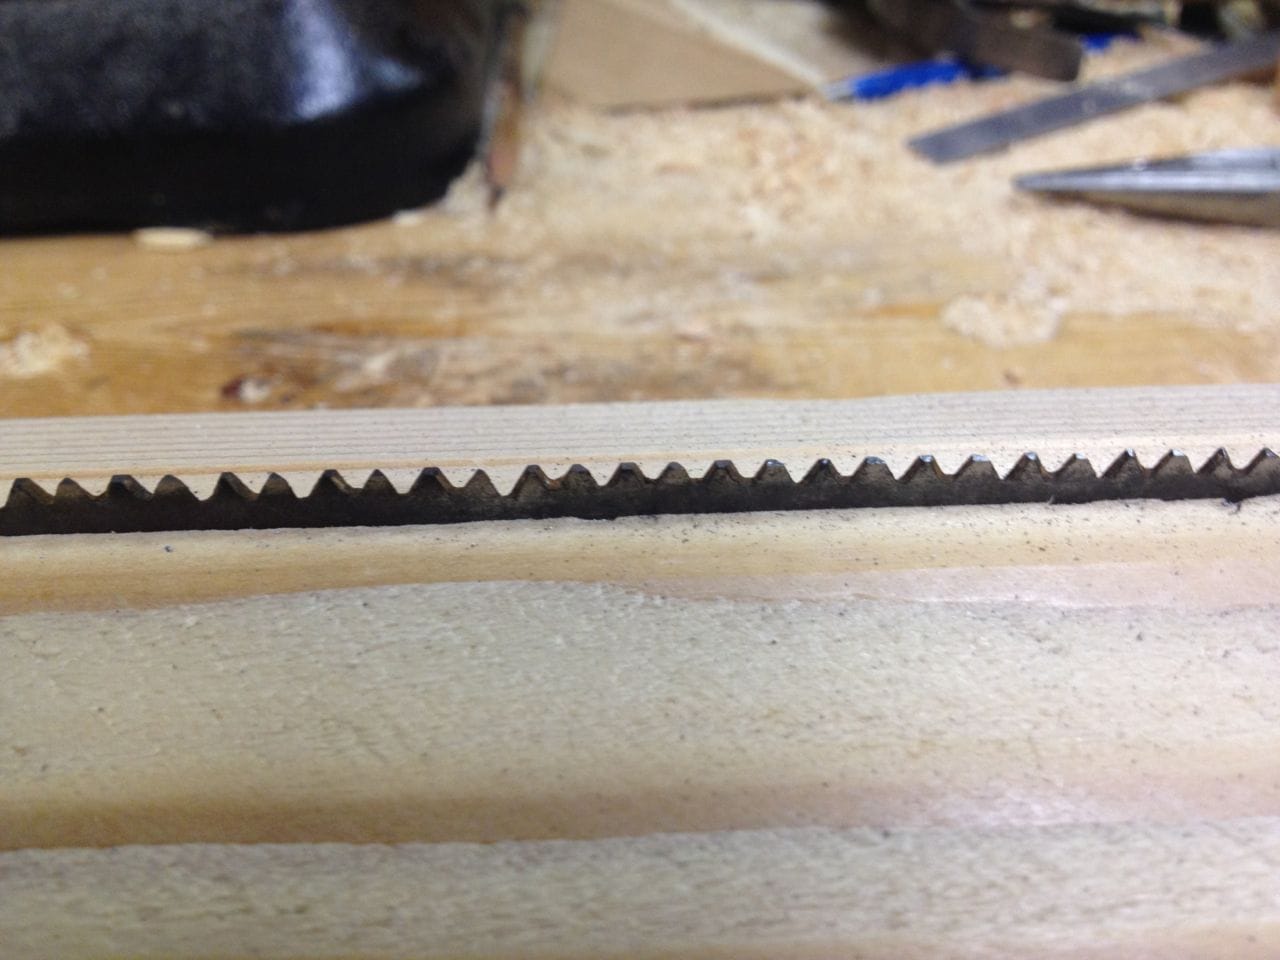
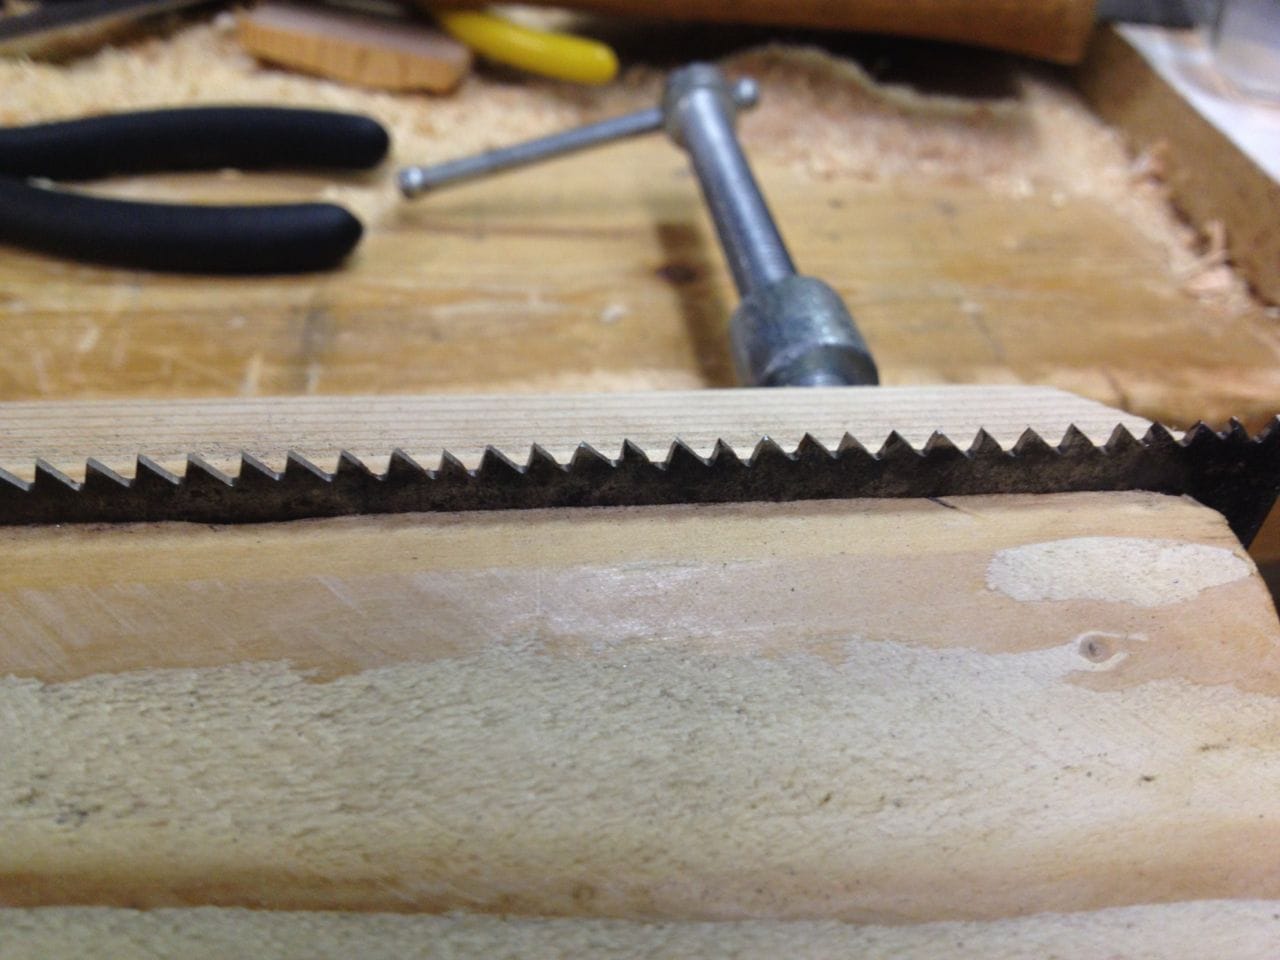
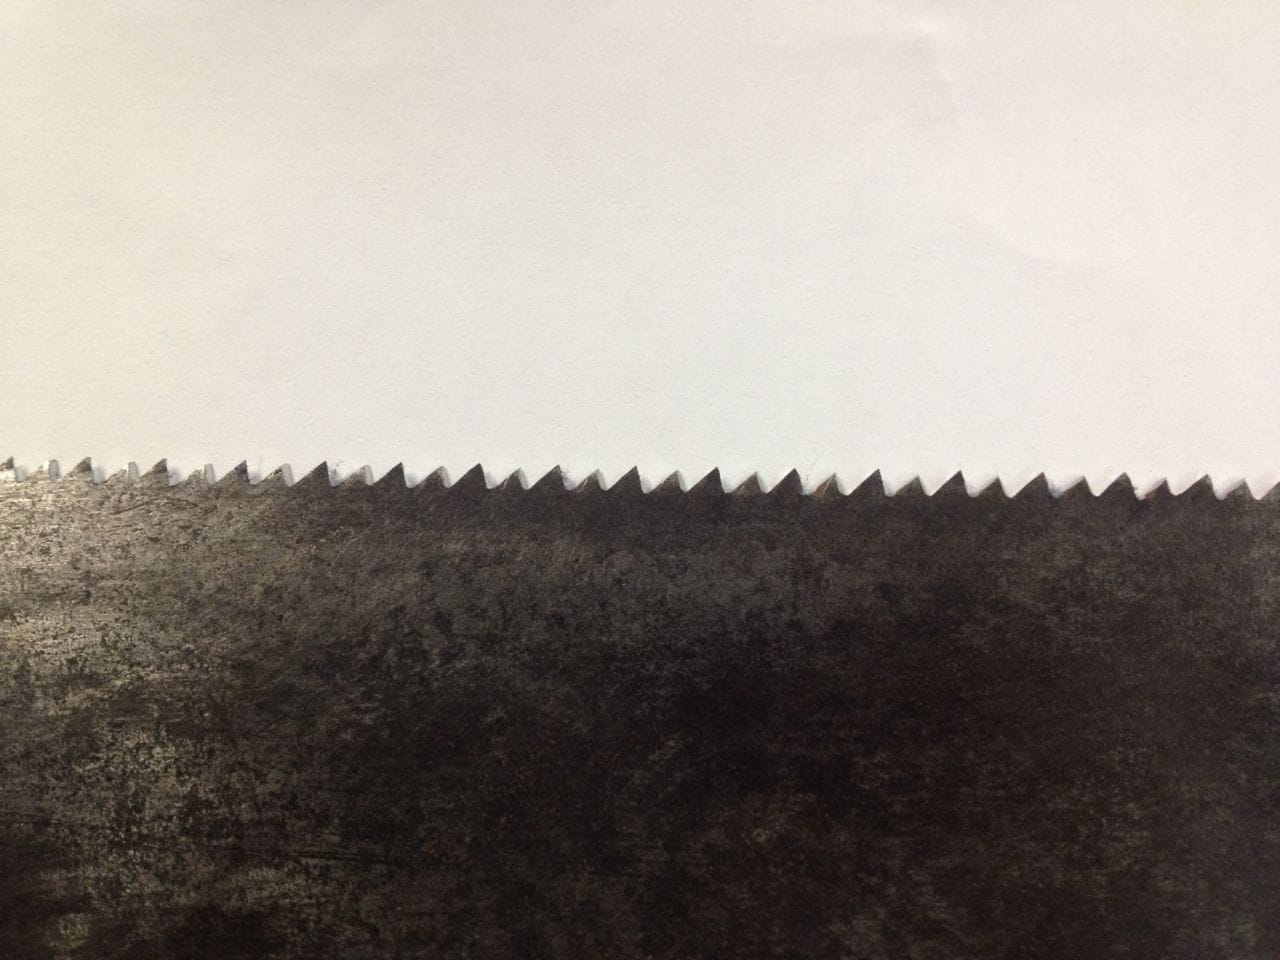
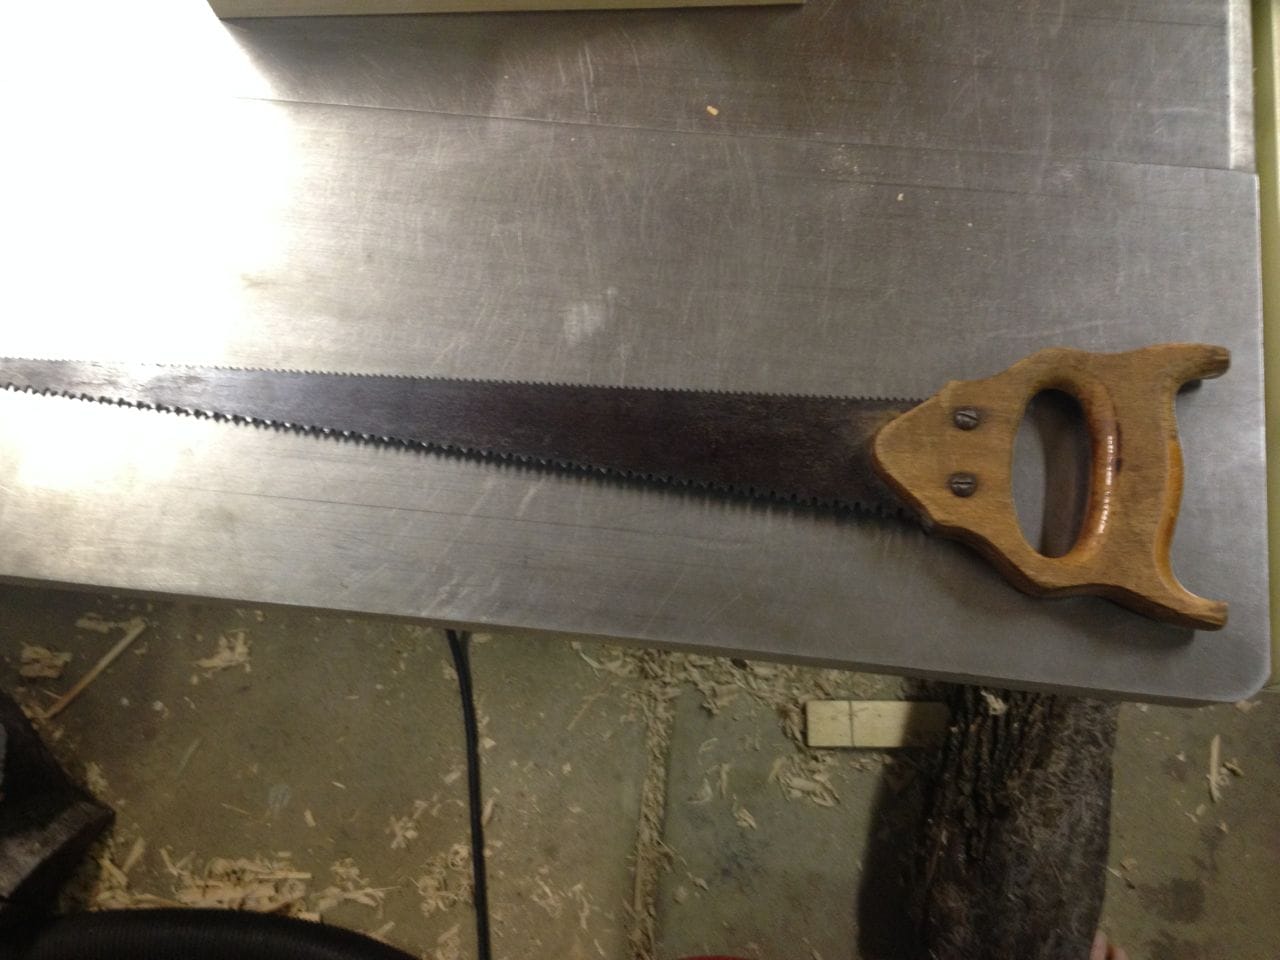
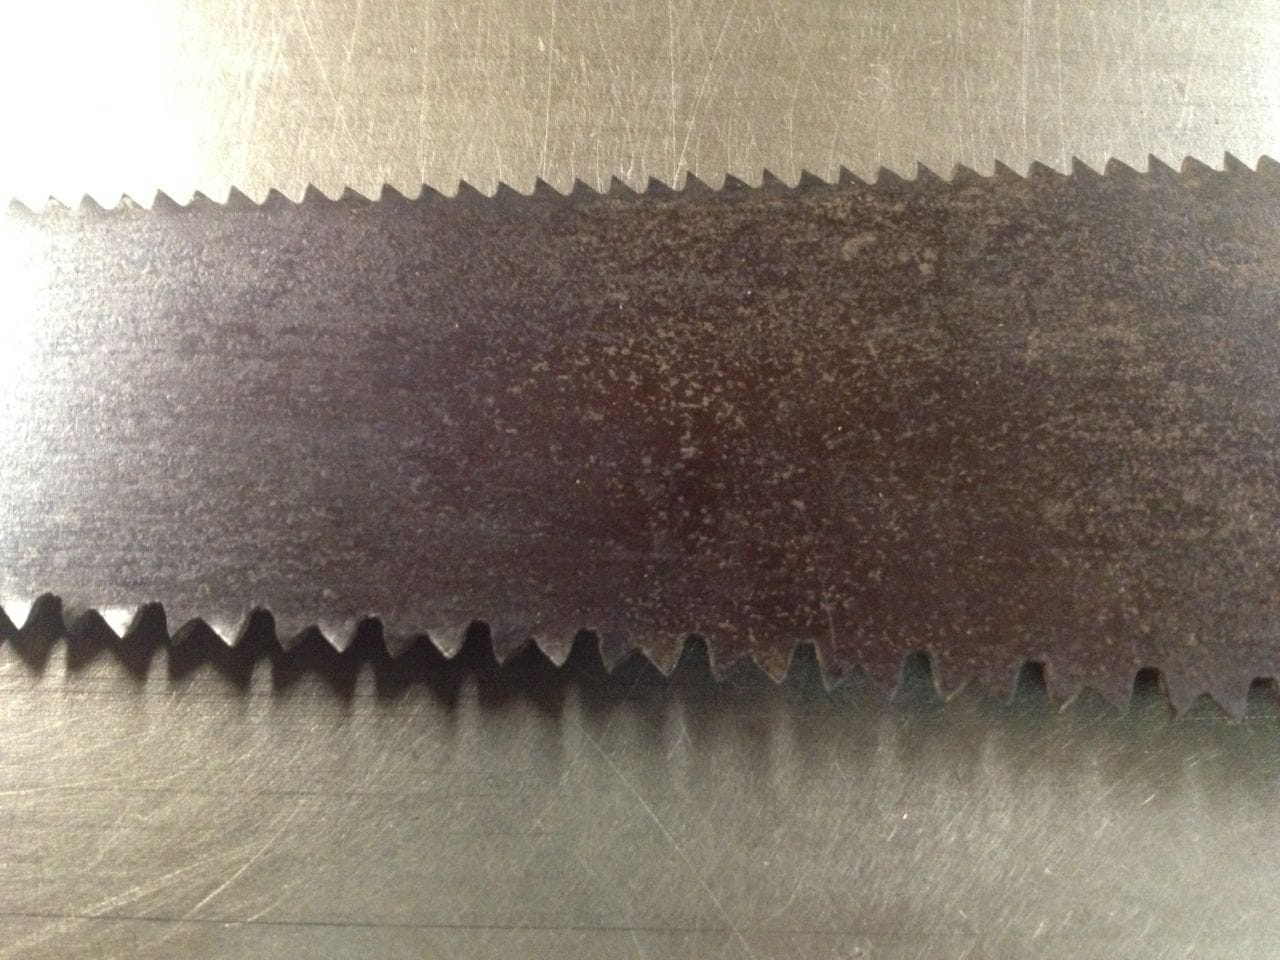
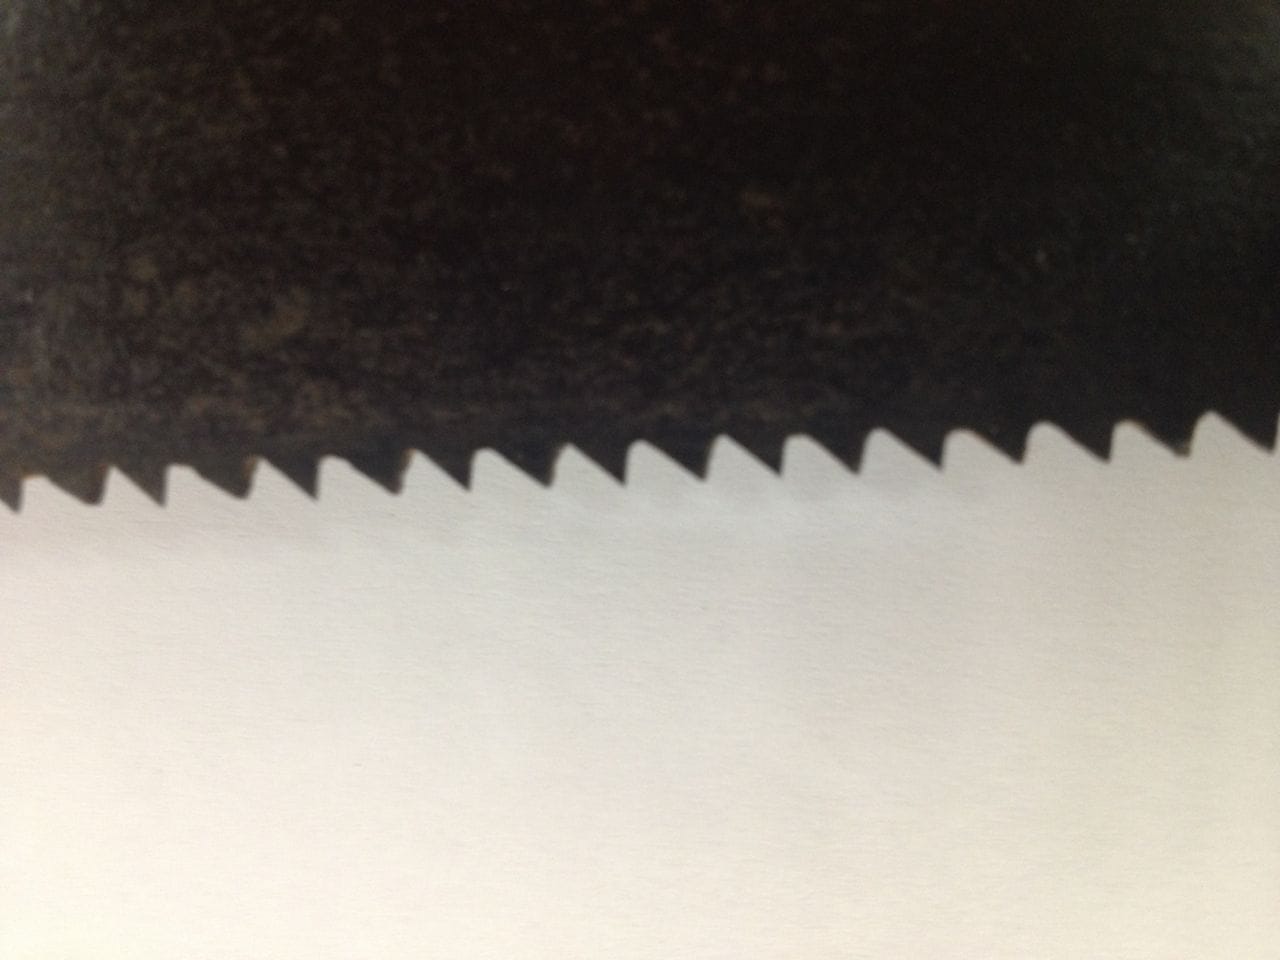
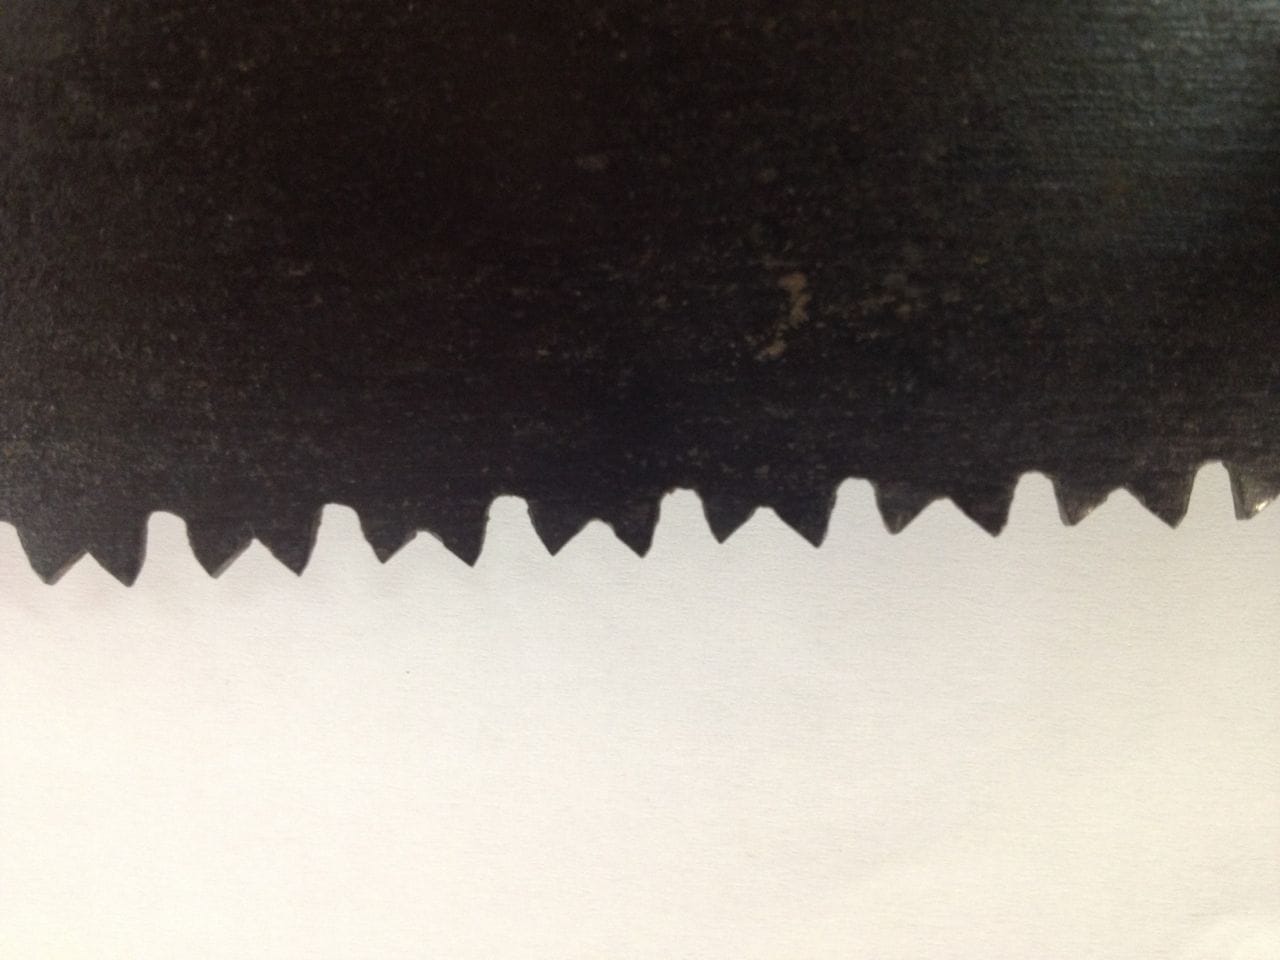
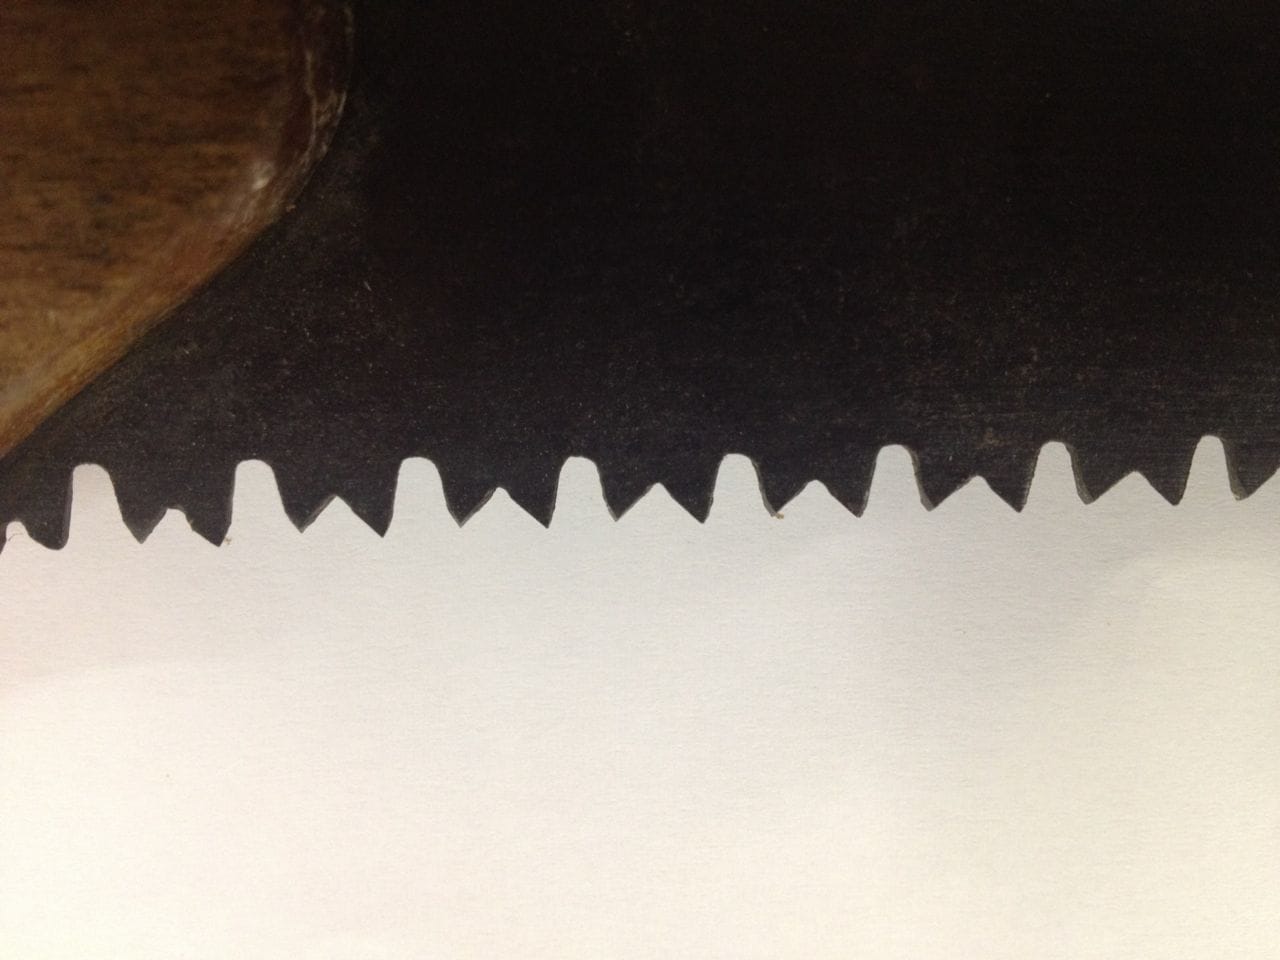
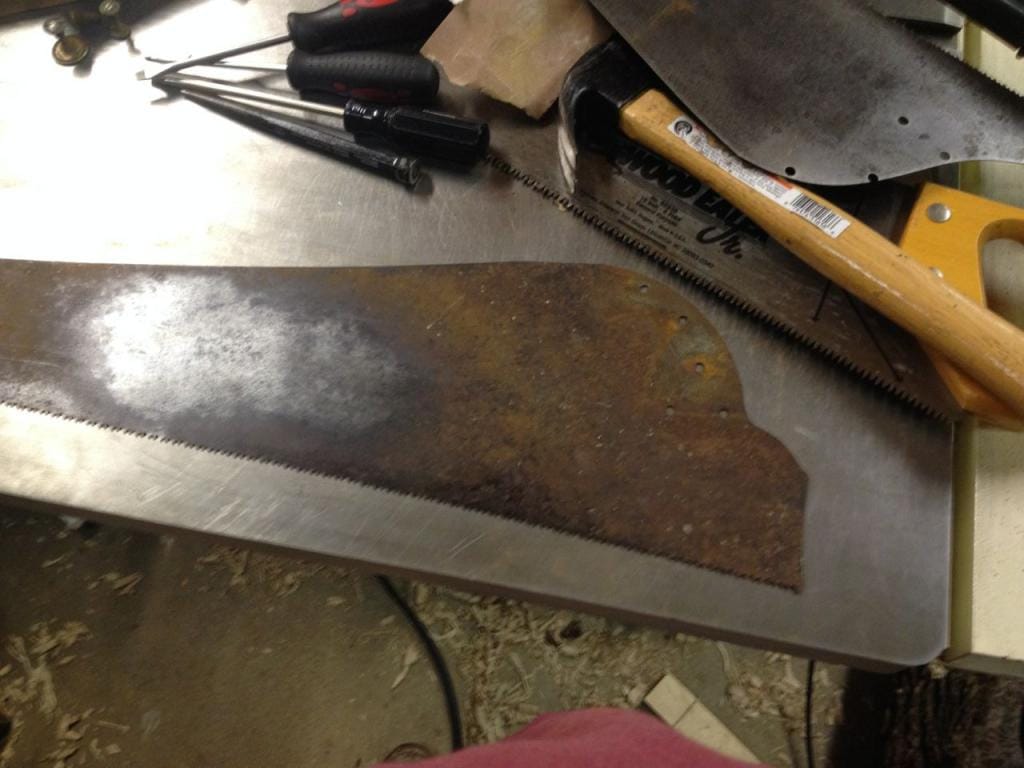
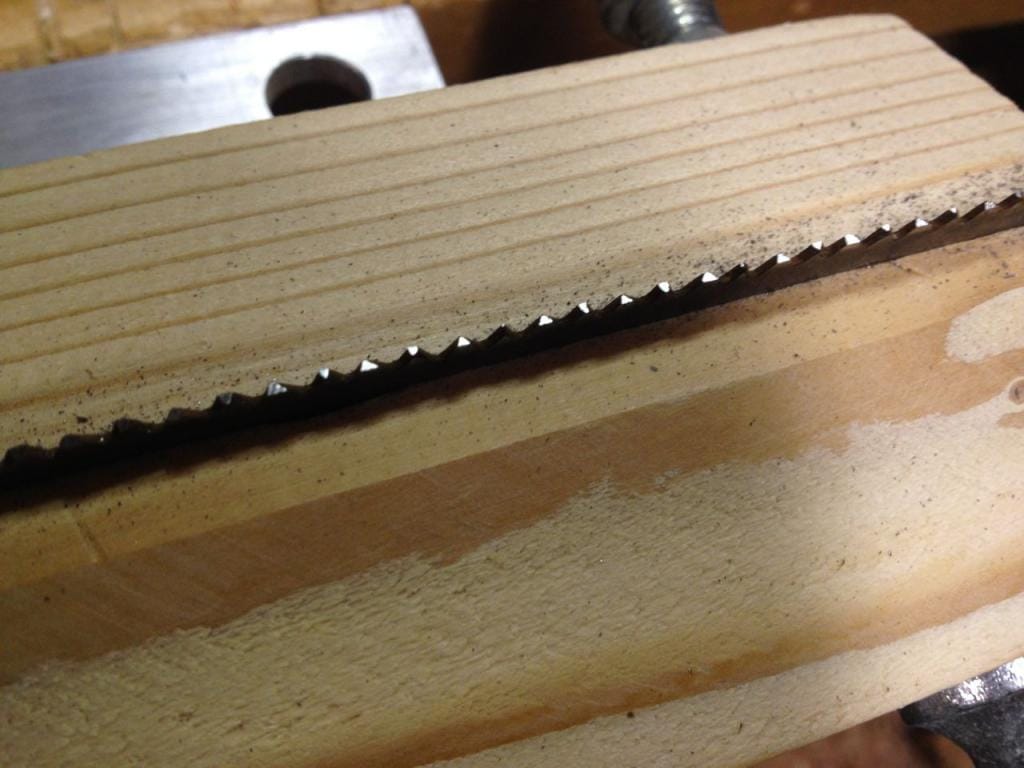
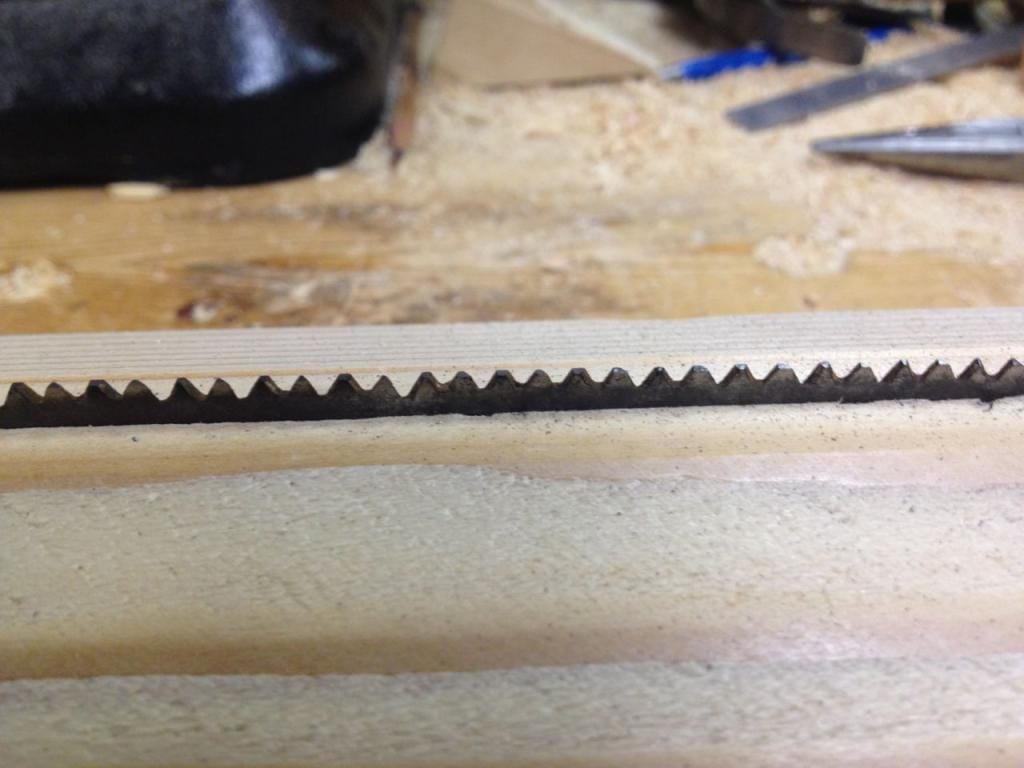
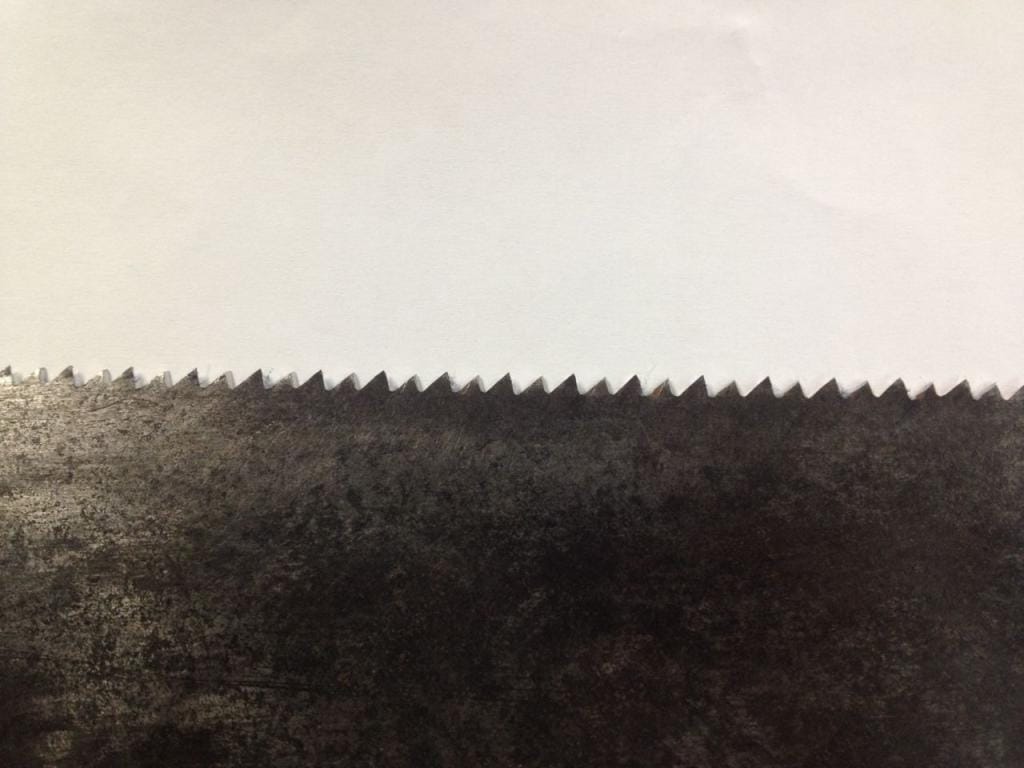
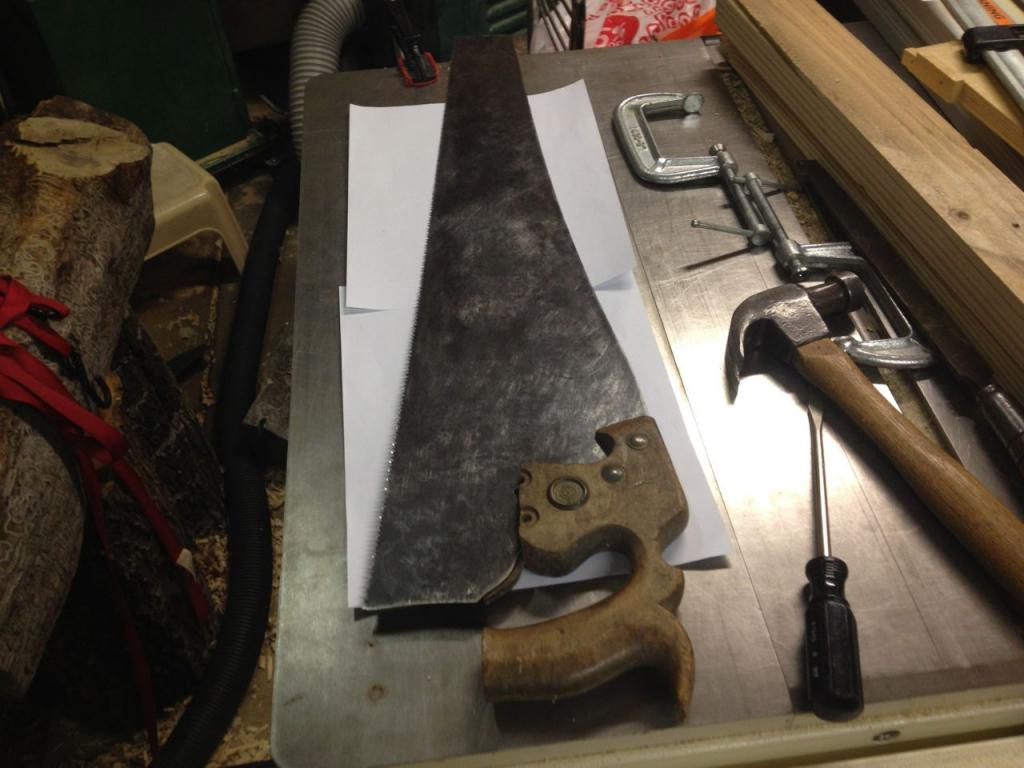
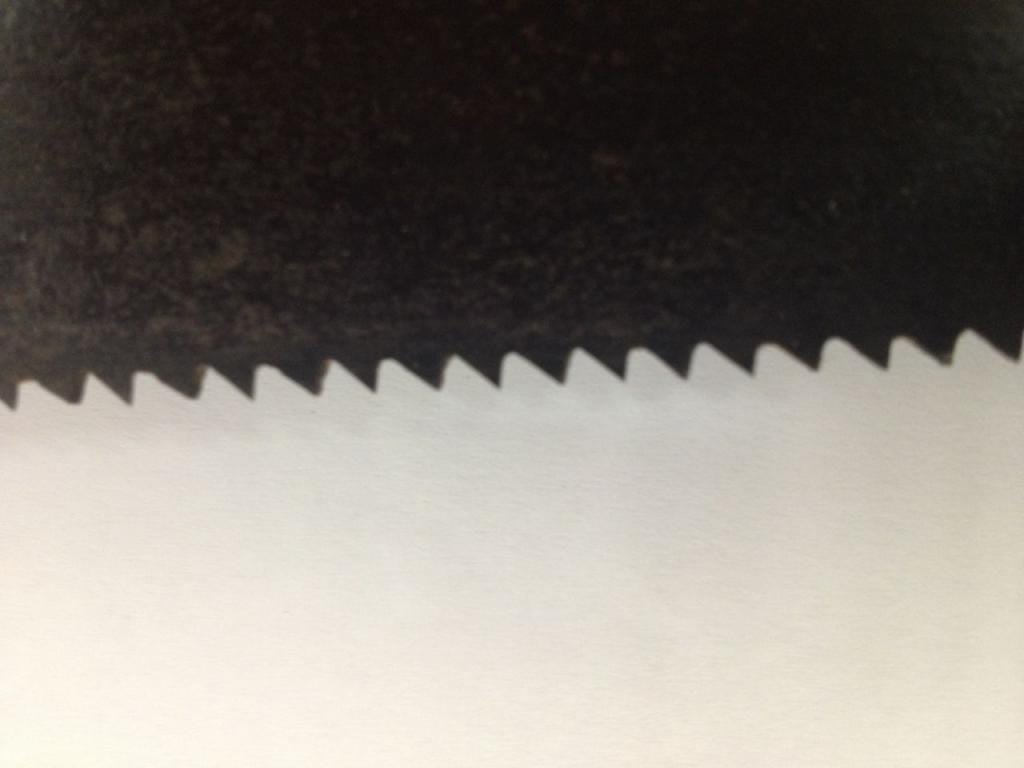
Returning from my parents a few weeks ago, I grabbed a rusty old saw that was tucked away in a corner, figuring I could use it to practice sharpening. I suspected that it probably belonged to my grandfather who was a carpenter. When I got it home and took a closer look, it turned out to be a turn of the century Disston. The etching on the blade was hard to make out, so I can't say for certain, but the other features seem to be consistent with a D-8. The funny thing is that the reason I wanted to practice sharpening on a crappy saw was that my other grandfather had given me a Disston D-8 of similar age that had been given to him by his grandfather and I didn't want to ruin it with inexperience. Anyway, I normally wouldn't have posted this, but I was so surprised by how well the sharpening process turned out on the "practice saw", that I just had to share my success. Below are photos of the various stages. This photo is after I removed the handle and tried to clean up the etching. The handle, as you'll see later, was partially cut off. The next two pics show how ratty the teeth were. You can see the tops that were in the process of being jointed. Here is a side view where you can really see the unevenness of the teeth. The angles look symmetric, like whoever sharpened them just set the file flat and went at it. This is after the first tooth forming. They were still uneven enough that I had to joint the saw again and make another pass at forming them. Finally, these images are after filing the fleam and setting the teeth. Below you can still see unfiled sections on some of the teeth, but I think they look pretty good considering how they started out. And here is the saw with the partially missing handle on it. I think I'm going to try to make a new handle for it, but I'm still figuring out how best to do that. Oh, and now that I've had some practice, I can try the other Disston. Especially since it is in far better shape than this one was.


-
Have you marked the surface with a Sharpie to make sure you're removing the material you think you are?
-
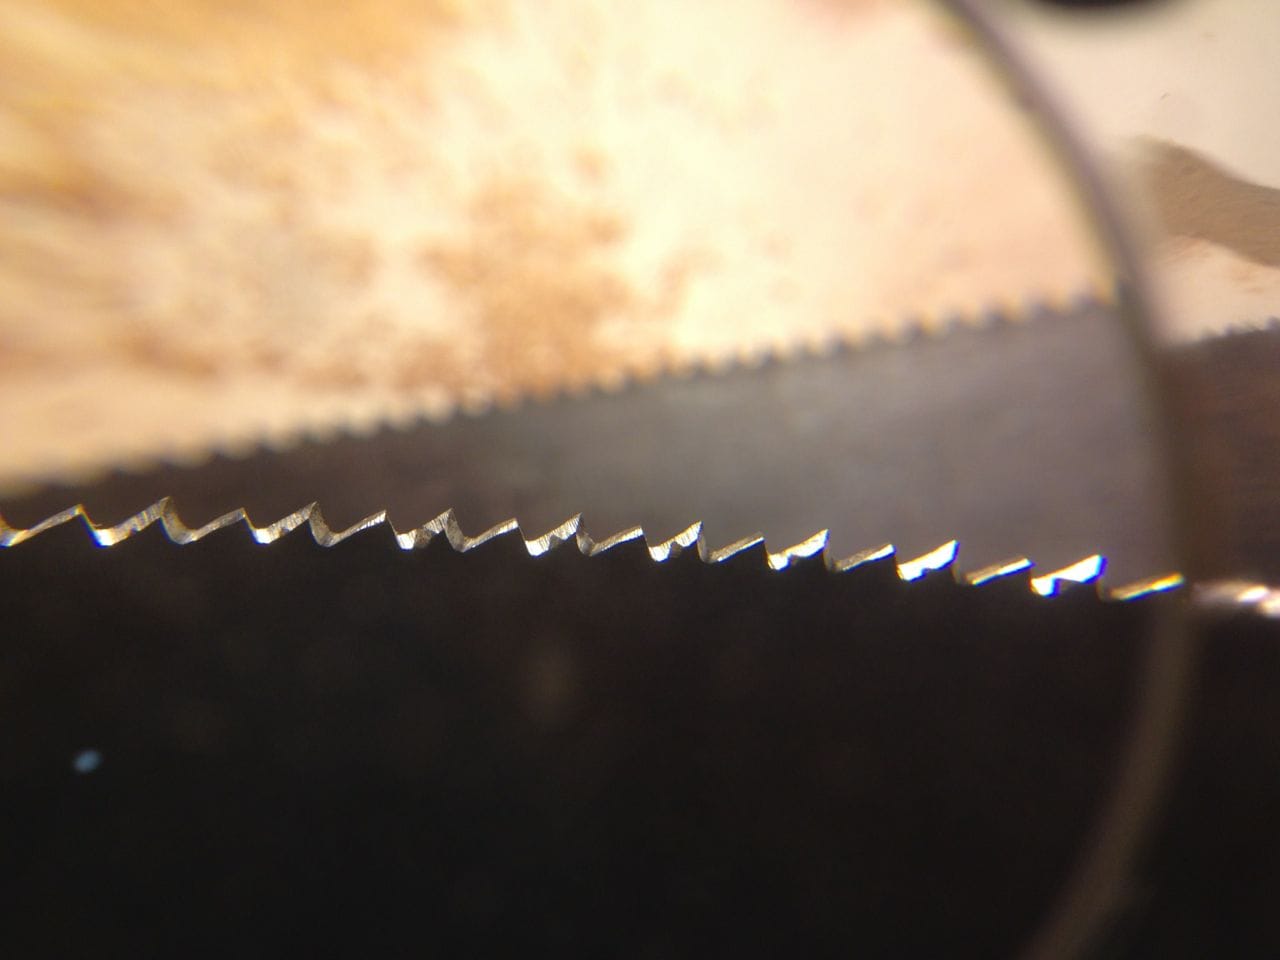
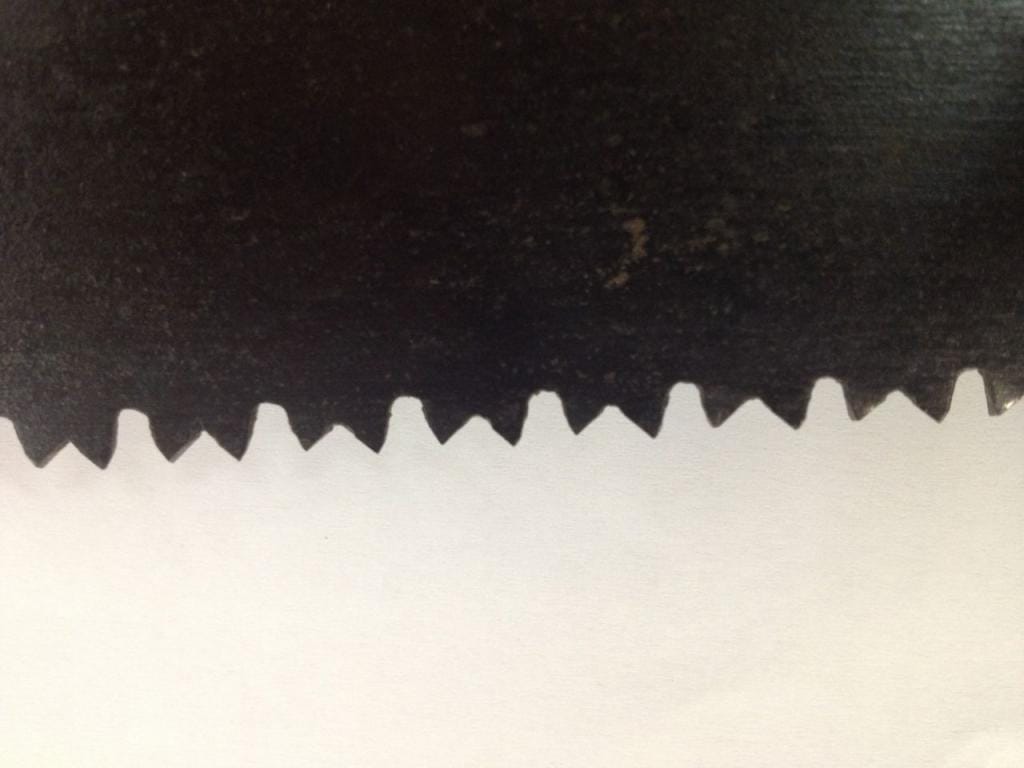
Thanks Tom. I took a closer look at the teeth under a magnifying glass and noticed that the inside edges of the teeth in each pair are filed with a fleam, with each tooth designed to sever the fibers in the opposite direction. As you said it cuts coming and going. But I think the back side of the teeth, which border the large gullets, are designed to act as the rakers on the return stroke to clean out the wood from the slicing half of the stroke. Anyway, I thought it was interesting.
-
I happened upon this pruning saw (at least I think that's what it is) in a small collection of tools I grabbed at an auction for $2. The one side seems to be relatively normal teeth, but the other side has the larger teeth reminiscent of lumber saws, with each tooth in a pair set opposite the other. I'm confused as to how the larger teeth are supposed to cut, and hence how to sharpen them. Anyone know how these teeth are supposed to cut? I think I know how traditional large crosscut saw teeth work, with the slicing teeth and the rakers, but the rake angles on the teeth on this saw have me a little confused. Thanks for any advice. Randy


-
I use my Craftsman to vacuum out my DC filter bag and I have to use a grounding strap on myself or I get seriously shocked. Even with the grounding strap, I can still feel the current in my fingers that are holding the bag. Slightly off topic, does the Craftsman keep up with the chip ejector on the Dewalt? Before I had a DC, I used a Craftsman on my Dewalt planer and it ended up pressurizing the Craftsman enough to separate the top from the barrel a bit.