shooterscott
-
Posts
89 -
Joined
-
Last visited
Recent Profile Visitors
1,294 profile views

shooterscott's Achievements
Apprentice Poster (1/3)
6
Reputation
-
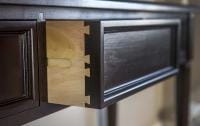
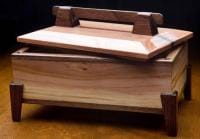
 Thank you, I cut the DT's then stained.
 -
Ideas of how this could and should be repaired
shooterscott replied to shooterscott's topic in General Woodworking Talk
That's a great example, thanks for sharing that with me. -
Ideas of how this could and should be repaired
shooterscott replied to shooterscott's topic in General Woodworking Talk
You guys rock, thanks for the options I'll get into it in the morning and see how things come out. Thanks again!!!!! -
Ideas of how this could and should be repaired
shooterscott replied to shooterscott's topic in General Woodworking Talk
Yes, they are all tight. -
Ideas of how this could and should be repaired
shooterscott replied to shooterscott's topic in General Woodworking Talk
No, I had hoped they would but it won't push together. -
Hey all, I'm wondering if those of you who might do this type of work more frequently than I would approach this type of repair. The chairs belong to a friend and they were told that they came across the plains in a wagon, who knows but I'd like to do the best job I can for them. Please don't judge my shop, its what I've got. Thanks so much for any thoughts and ideas.
-
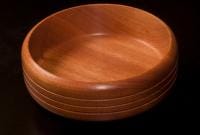
 Yes, it is CA finished.
 -
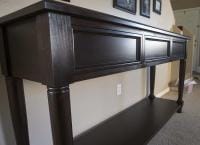
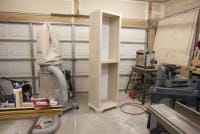
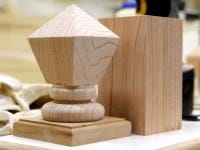
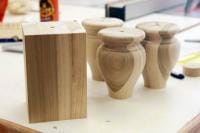
Me trying to make something that is useful
-
-
 Thank you.
 -
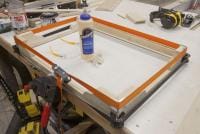
 Well, lets say I got what I paid for. It's Home -----'s cabinet grade ply, I knew better and got stung by it. Just trying to save some. Never again!!!
 -
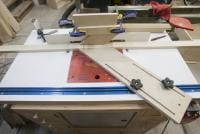
My table saw splitter has slop - should i not be using it?
shooterscott replied to rperkins's topic in The Shop
I have that same splitter, and mine also will move some left to right. As long as it doesn't allow material to move back over the blade it is working correctly. -
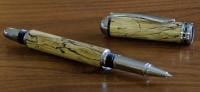
Thank you, I went back and forth with that and went with the half tooth for these I think though if I were to do them again I might go the other way and use the full tooth. Thanks for the comments, I'm always learning with this hobby.
-
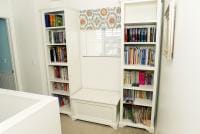
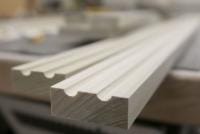
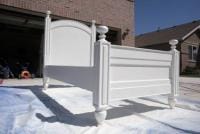
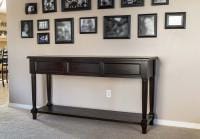
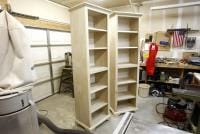
Yes, I used a french cleat for them and to just make sure they stayed put I put three long screws in pocket holes into the studs, I made all the mouldings with different combinations of bits on my router tables I used General finishes version of antiche white milk paint and then high performance top coat and then used their VanDyke Brown glaze rubbed it out and then applied another coat of high performance to seal it.
-
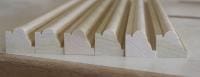
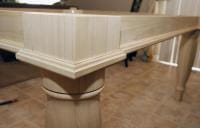
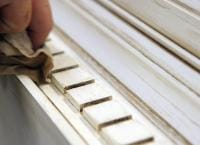 here is a close up of the moluldings as I'm rubbing them out.
 -
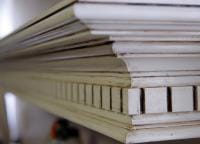 Here is a close up of the moluldings. These two shelves are the first part of our new kitchen rebuild, I hope I can get the rest done in a timely manner.